Building a complete single-page application (SPA) from scratch can be a little bit overwhelming for developers who used Vue before but never built a complete SPA from scratch.
After finishing this tutorial, you should have a good idea on how real-world SPAs are built including authentication, state management, and adding helpful tools like Tailwind CSS.
Even though the title says building your first app, it can also be useful to developers who have built SPAs before but not used everything covered here (like Pinia for state management or how to use Vue Apollo with composition API).
What are we going to build?
To focus on the concepts, we will build a simple todo app that lets us create an account, log in, add todos, complete them, and delete them.
To see exactly what we are going to build, you can install and run the backend and the frontend of the app from GitHub.
What are we going to use?
Well, we will use Vue 3 of course. But first make sure you are familiar with the Composition API. If you are not, I encourage you to learn it first before following the tutorial. I recommend learning it not only to be able to follow the tutorial, but also because it’s really great and will make your apps structured better.
Here are the things we will use for this app:
- Vue Router for routing
- Pinia for state management
- Tailwind CSS for styling
- Vue Apollo for the GraphQL Client
Create a new Vue project
From your terminal run:
npm create vite@latest
Then select the following options:
✔ Project name: todoapp-vue
✔ Select a framework: › Vue
✔ Select a variant: › Customize with create-vue

Vue.js - The Progressive JavaScript Framework

✔ Add TypeScript? … No
✔ Add JSX Support? … No
✔ Add Vue Router for Single Page Application development? … Yes
✔ Add Pinia for state management? … Yes
✔ Add Vitest for Unit Testing? … No
✔ Add Cypress for both Unit and End-to-End testing? … No
✔ Add ESLint for code quality? … Yes
✔ Add Prettier for code formatting? … Yes
Note how we used “Customize with create-vue” to install Vue Router and Pinia.
After that, go to that project and run npm install:
cd todoapp-vue
npm install
Now run the app using:
npm run dev
Open it up in the browser, and let’s start preparing the project.
Prepare the project
Before we start writing code, let’s get rid of the boilerplate code that we don’t need. So, follow these steps:
- Delete everything in
src/components - Delete everything in
src/stores - Delete
src/assets/base.cssandsrc/assets/main.css - Open
src/main.jsand removeimport './assets/main.css' - Delete
src/views/AboutView.vue
Because we deleted AboutView.vue, we need to remove its route. So, open src/router/index.js and remove /about route.
After that, your src/router/index.js should look like this:
import { createRouter, createWebHistory } from 'vue-router'
import HomeView from '../views/HomeView.vue'

const router = createRouter({
  history: createWebHistory(import.meta.env.BASE_URL),
  routes: [
    {
      path: '/',
      name: 'home',
      component: HomeView
    }
  ]
})

export default router
Now let’s replace the content of src/App.vue and src/views/HomeView.vue with this:
<template>
  <div></div>
</template>

<script setup></script>
If you check your browser now, you should see a blank page. If that’s the case, then everything is working, and we can move on to the next step.
Install Tailwind CSS
Run the following to install it and create the config file:
npm install -D tailwindcss postcss autoprefixer
npx tailwindcss init -p
Open tailwind.config.js and replace its content with:
module.exports = {
  content: ['./index.html', './src/**/*.{vue,js,ts,jsx,tsx}'],
  theme: {
    fontFamily: {
      roboto: ['Roboto', 'sans-serif']
    }
  },
  plugins: []
}
We want to use Roboto font for this app, so we added roboto to the fontFamily.
Next, create src/index.css and add this to it:
@tailwind base;
@tailwind components;
@tailwind utilities;
Now we can import ./index.css from our src/main.js like this:
import { createApp } from 'vue'
import { createPinia } from 'pinia'

import App from './App.vue'
import router from './router'

import './index.css'

const app = createApp(App)

app.use(createPinia())
app.use(router)

app.mount('#app')
Add font and colors
As I mentioned earlier, we will use Roboto as the font. So let’s import and configure our app’s background and text color in index.html:
<!DOCTYPE html>
<html lang="en">
  <head>
    <meta charset="UTF-8" />
    <link rel="icon" href="/favicon.ico" />
    <meta name="viewport" content="width=device-width, initial-scale=1.0" />
    <link rel="preconnect" href="https://fonts.googleapis.com" />
    <link rel="preconnect" href="https://fonts.gstatic.com" crossorigin />
    <link
      href="https://fonts.googleapis.com/css2?family=Roboto:wght@400;500;700&display=swap"
      rel="stylesheet"
    />
    <title>Todo App</title>
  </head>
  <body class="bg-gray-900 text-gray-100 antialiased font-roboto">
    <div class="h-full" id="app"></div>
    <script type="module" src="/src/main.js"></script>
  </body>
</html>
Note how we’ve set the height of #app to 100% using h-full. We need this to center our content vertically in some pages later.
How are we going to add pages?
To make things easier to follow, I will break the rest of this tutorial into two phases. The first phase will be just adding the UI of the pages and components. And the second phase will be integrating them with the backend.
Specifying where we want to display the page’s content
Vue Router provides us with a component called <RouterView />. This component tells the app where to display the current route’s content.
Since App.vue is our root component, we should display the router view there. So, add <RouterView /> in src/App.vue:
<template>
  <RouterView />
</template>

<script setup></script>
Add the login page
Create LoginView.vue in src/views, and add this code to it:
<template>
  <div class="min-h-screen flex flex-col justify-center items-center">
    <h1 class="text-4xl font-bold text-center">Todo App</h1>
    <form class="mt-5 w-full max-w-lg mx-auto flex flex-col">
      <input
        class="p-3.5 rounded-t border-b border-gray-300 text-gray-900 outline-none"
        type="text"
        placeholder="Username"
        required
      />
      <input
        class="p-3.5 rounded-b text-gray-900 outline-none"
        type="password"
        placeholder="Password"
        required
      />
      <button class="bg-blue-500 hover:bg-blue-600 mt-2.5 py-2.5 rounded">
        Log in
      </button>
    </form>
  </div>
</template>

<script setup></script>
Next, we need to link this view to a route. So let’s add a new route called Login to our routes list.
So, update src/router/index.js like this:
import { createRouter, createWebHistory } from 'vue-router'
import HomeView from '../views/HomeView.vue'

const router = createRouter({
  history: createWebHistory(import.meta.env.BASE_URL),
  routes: [
    {
      path: '/',
      name: 'home',
      component: HomeView
    },
    {
      path: '/login',
      name: 'Login',
      component: () => import('../views/LoginView.vue')
    }
  ]
})

export default router
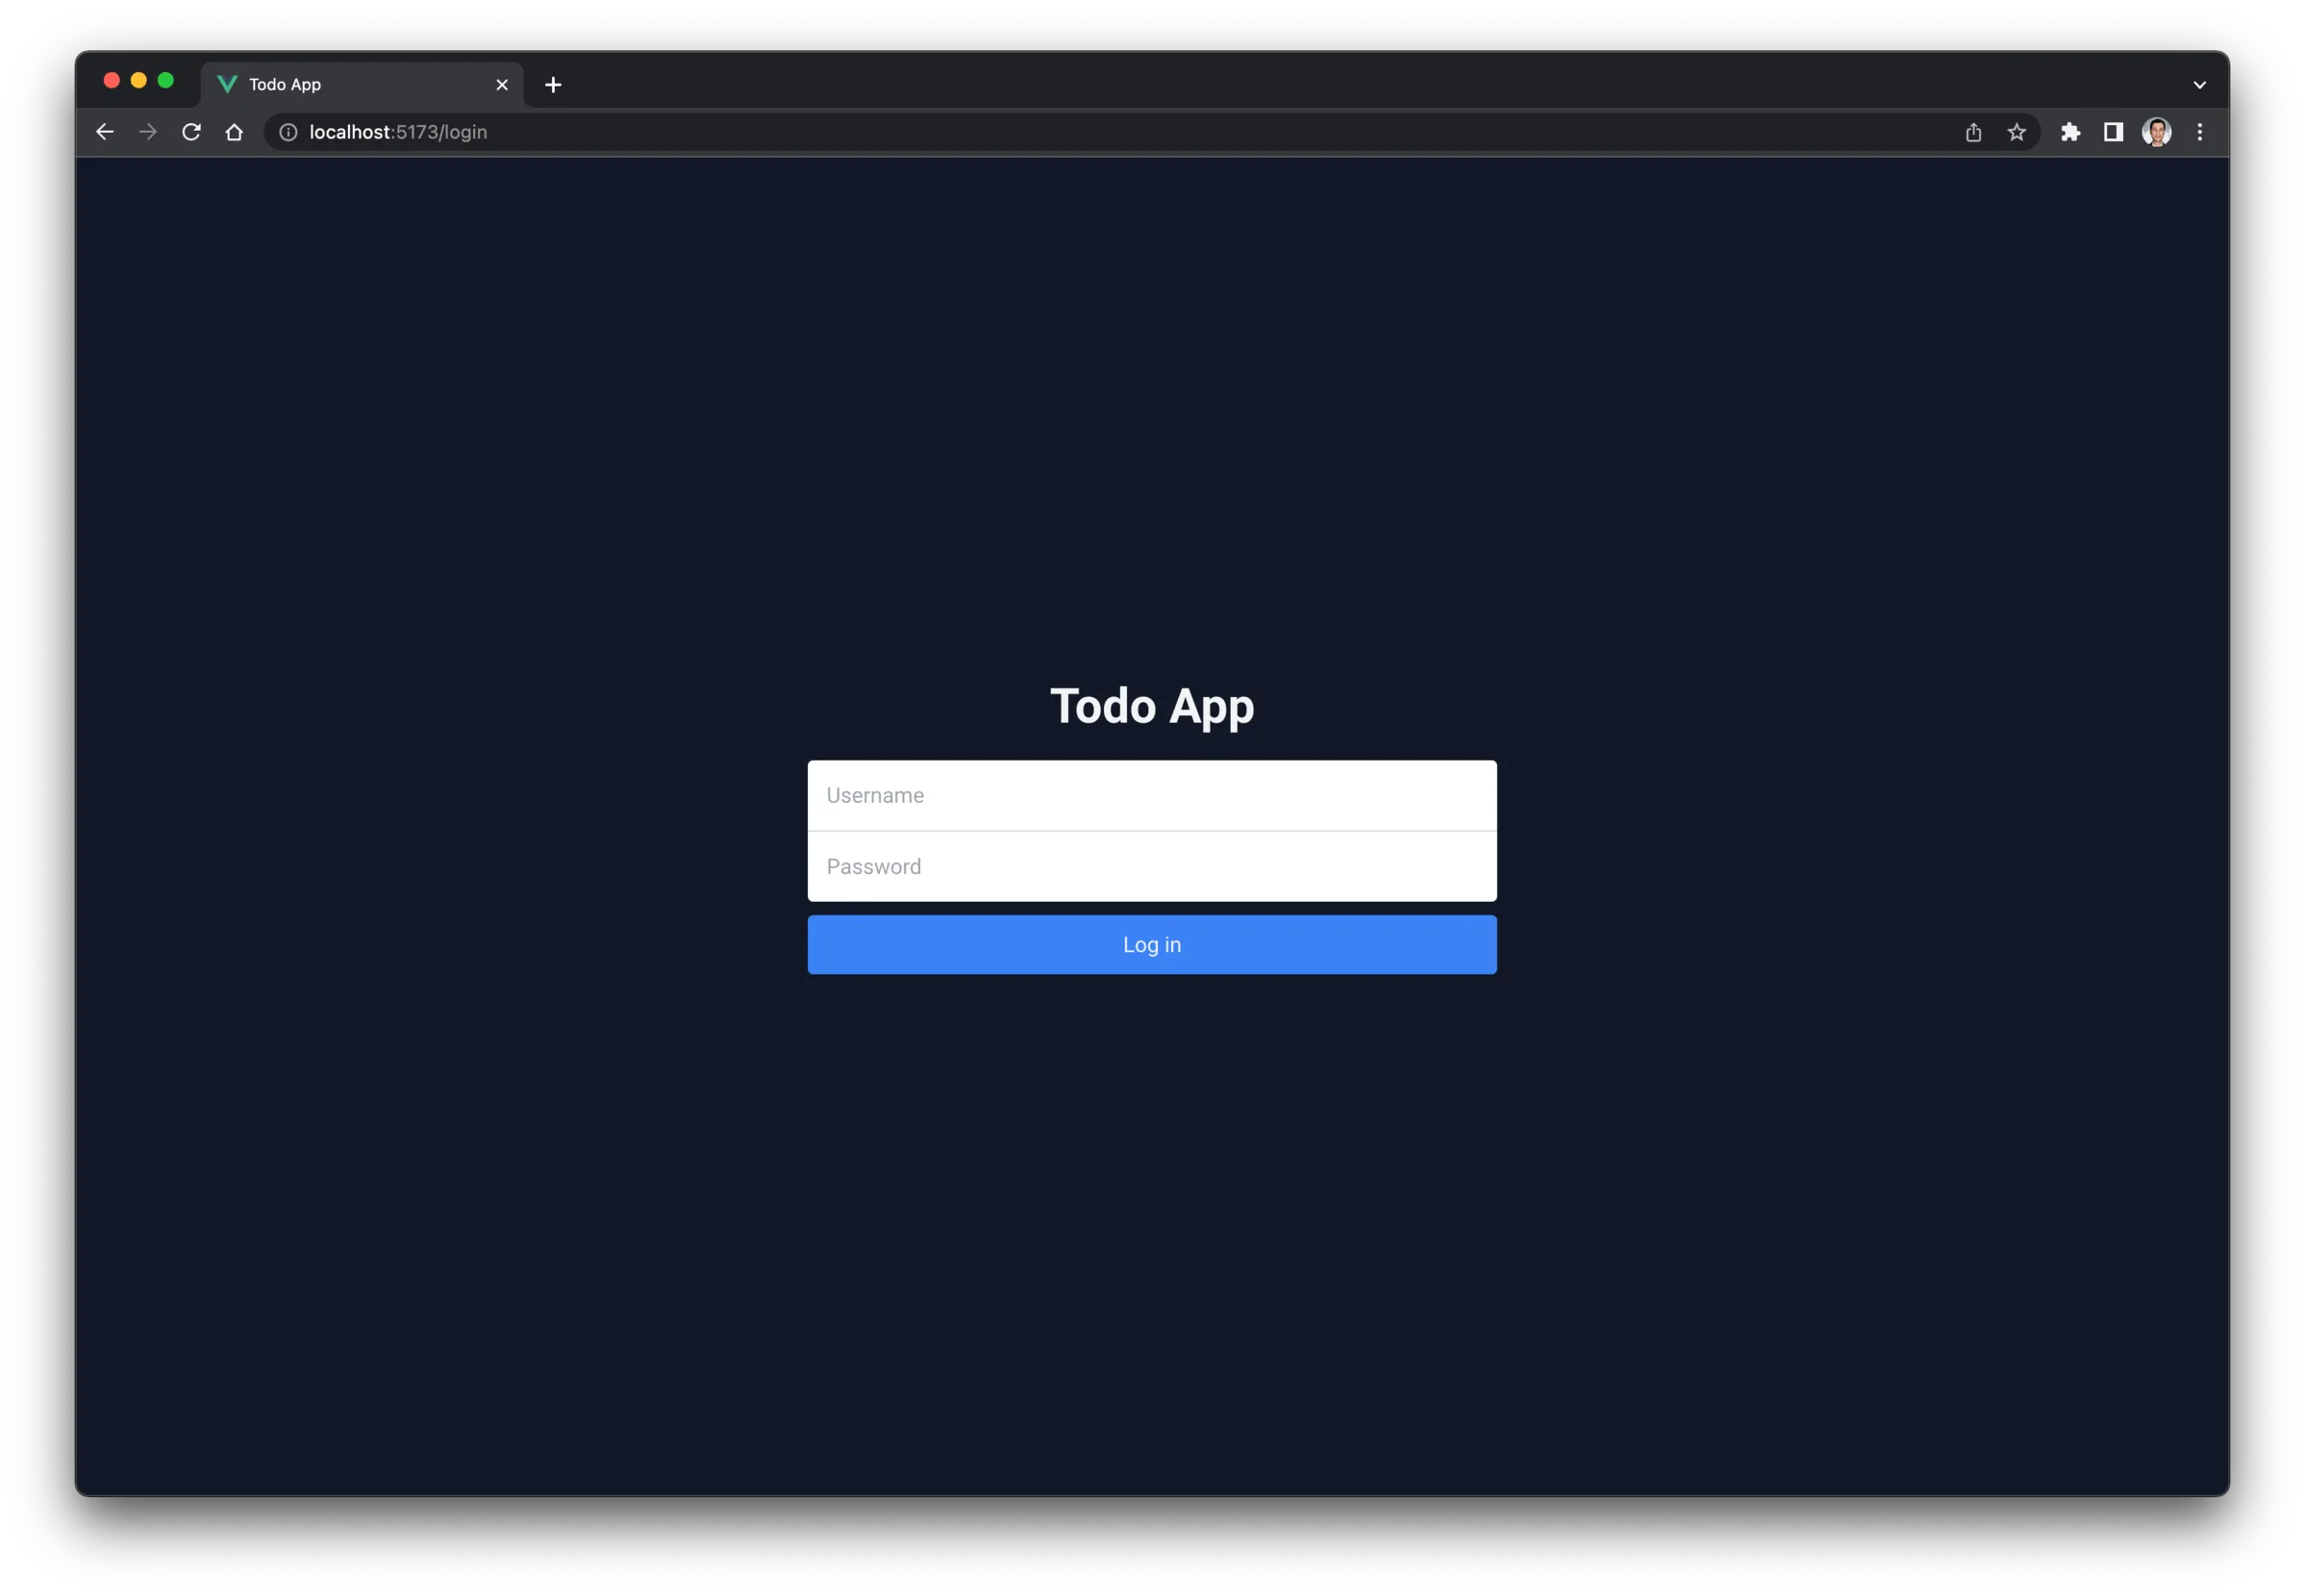
If you go to http://localhost:5173/login in your browser, you should see this:
Add the signup page
First, add src/views/SignupView.vue:
<template>
  <div class="min-h-screen flex flex-col justify-center items-center">
    <h1 class="text-4xl font-bold text-center">Todo App</h1>
    <form class="mt-5 w-full max-w-lg mx-auto flex flex-col">
      <input
        class="p-3.5 rounded-t border-b border-gray-300 text-gray-900 outline-none"
        type="text"
        placeholder="Name"
        required
      />
      <input
        class="p-3.5 border-b border-gray-300 text-gray-900 outline-none"
        type="text"
        placeholder="Username"
        required
      />
      <input
        class="p-3.5 rounded-b text-gray-900 outline-none"
        type="password"
        placeholder="Password"
        required
      />
      <button class="bg-blue-500 hover:bg-blue-600 mt-2.5 py-2.5 rounded">
        Sign up
      </button>
    </form>
    <div class="mt-5">
      Already have an account?
      <RouterLink class="text-blue-400" :to="{ name: 'Login' }"
        >Log in here</RouterLink
      >
    </div>
  </div>
</template>

<script setup></script>
Note how we are using <RouterLink> component here. It’s used to create a link to another route, and in this case it’s the login page.
Before using RouterLink, you need to make sure that the route you’re linking to exists, otherwise it will error. That’s why we didn’t add the signup link in the login page.
So let’s add the signup route in src/router/index.js:
// ...
routes: [
  {
    path: '/',
    name: 'home',
    component: HomeView
  },
  {
    path: '/login',
    name: 'Login',
    component: () => import('../views/LoginView.vue')
  },
  {
    path: '/signup',
    name: 'Signup',
    component: () => import('../views/SignupView.vue')
  }
]
// ...
Now we have that added, we can add the signup link to the login page.
So, add this below </form> in src/views/LoginView.vue:
<div class="mt-5">
  Don't have an account?
  <RouterLink class="text-blue-400" :to="{ name: 'Signup' }">
    Sign up here
  </RouterLink>
</div>
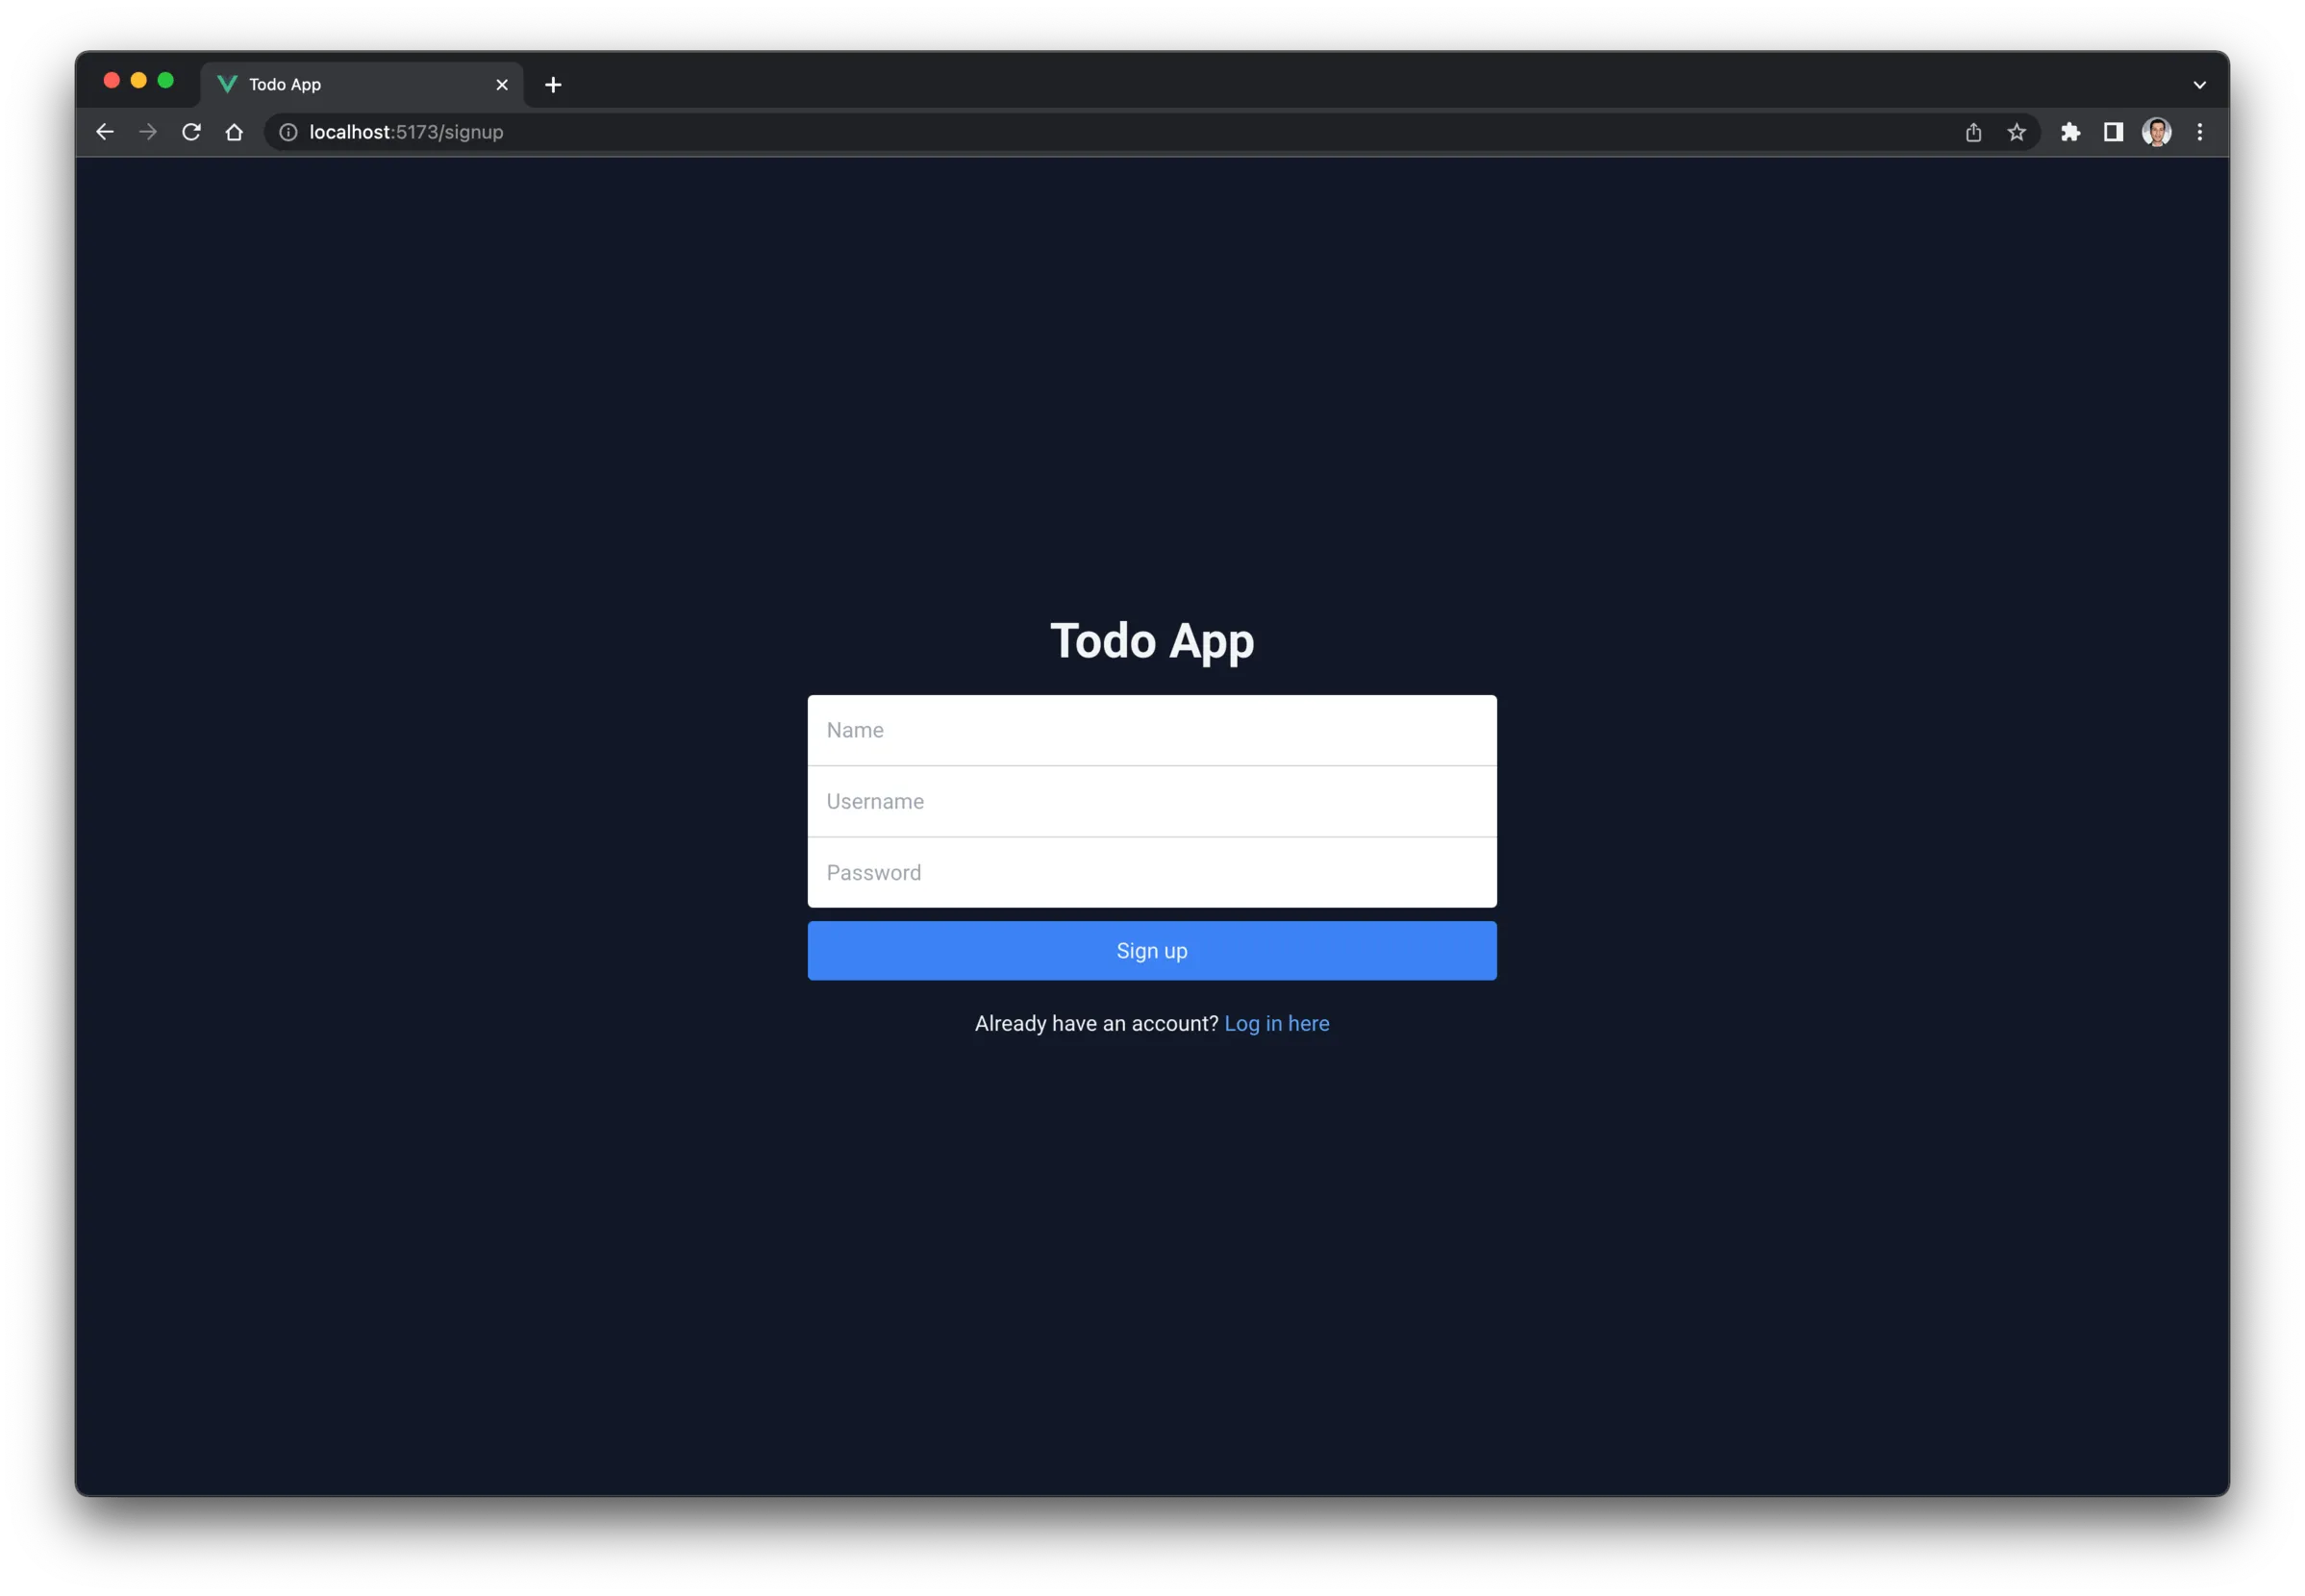
Now let’s check our signup page to make sure it’s working. So if you go to http://localhost:5173/signup in your browser, you should see this:
The homepage
The homepage view already exists in our app. So, let’s start adding the needed content to it.
Add the following to src/views/HomeView.vue:
<template>
  <div class="mt-20 w-full max-w-lg mx-auto">
    <h1 class="text-4xl font-bold text-center">Todo App</h1>
    <div class="mt-10 flex items-center justify-between">
      <div>Hey <span class="font-bold">User Name</span></div>
      <button class="cursor-pointer text-gray-200 hover:text-white">
        Log out
      </button>
    </div>
    <div class="mt-2.5">
      <AddTodoInput />
      <div class="mt-3.5">
        <div class="space-y-2.5">
          <TodoItem />
        </div>
      </div>
    </div>
  </div>
</template>

<script setup></script>
This contains two components that we didn’t create yet. They are <AddTodoInput /> and <TodoItem />.
<AddTodoInput /> is used to display the text input for the todo, and it will also handle creating the todo (about this later).
<TodoItem /> will display the todo item including the title, complete checkbox, and a delete button.
Let’s create their UIs.
So create AddTodoInput.vue in src/components and add this to it:
<template>
  <div
    class="px-5 w-full bg-gray-100 rounded-lg outline-none text-gray-900 flex items-center justify-between"
  >
    <input
      class="rounded-lg py-3.5 flex-1 bg-gray-100 outline-none pr-2.5"
      type="text"
      placeholder="What needs to be done?"
    />
  </div>
</template>

<script setup></script>
And create src/components/TodoItem.vue with this:
<template>
  <div
    class="group flex items-center justify-between bg-gray-200 rounded-lg px-5 py-3.5 text-gray-900"
  >
    <div class="flex items-center">
      <button
        :class="[
          completed ? 'bg-blue-500 border-blue-500' : 'border-gray-500',
          'hover:border-blue-500 border-2 w-5 h-5 rounded-full flex items-center justify-center text-white cursor-pointer'
        ]"
        @click="toggle"
      >
        <svg
          v-if="completed"
          style="width: 15px; height: 15px"
          viewBox="0 0 24 24"
        >
          <path
            fill="currentColor"
            d="M21,7L9,19L3.5,13.5L4.91,12.09L9,16.17L19.59,5.59L21,7Z"
          />
        </svg>
      </button>
      <span :class="[completed && 'line-through text-gray-500', 'ml-2.5']">
        Todo Title
      </span>
    </div>

    <button
      class="opacity-0 group-hover:opacity-100 text-gray-500 hover:text-gray-900"
    >
      <svg style="width: 24px; height: 24px" viewBox="0 0 24 24">
        <path
          fill="currentColor"
          d="M9,3V4H4V6H5V19A2,2 0 0,0 7,21H17A2,2 0 0,0 19,19V6H20V4H15V3H9M9,8H11V17H9V8M13,8H15V17H13V8Z"
        />
      </svg>
    </button>
  </div>
</template>

<script setup>
  import { ref } from 'vue'

  const completed = ref(false)

  const toggle = () => {
    completed.value = !completed.value
  }
</script>
For now we are handling the checkbox complete locally, but later calling toggle() should update it on the backend.
Most of what this component contains is updating the styling of the elements based on the completed data prop. For example, if completed is true, we should fill the checkbox element with blue and show a check icon.
Now we have created the components, let’s import them in our homepage.
So, update <script setup> in HomeView.vue like this:
<script setup>
  import AddTodoInput from '../components/AddTodoInput.vue'
  import TodoItem from '../components/TodoItem.vue'
</script>
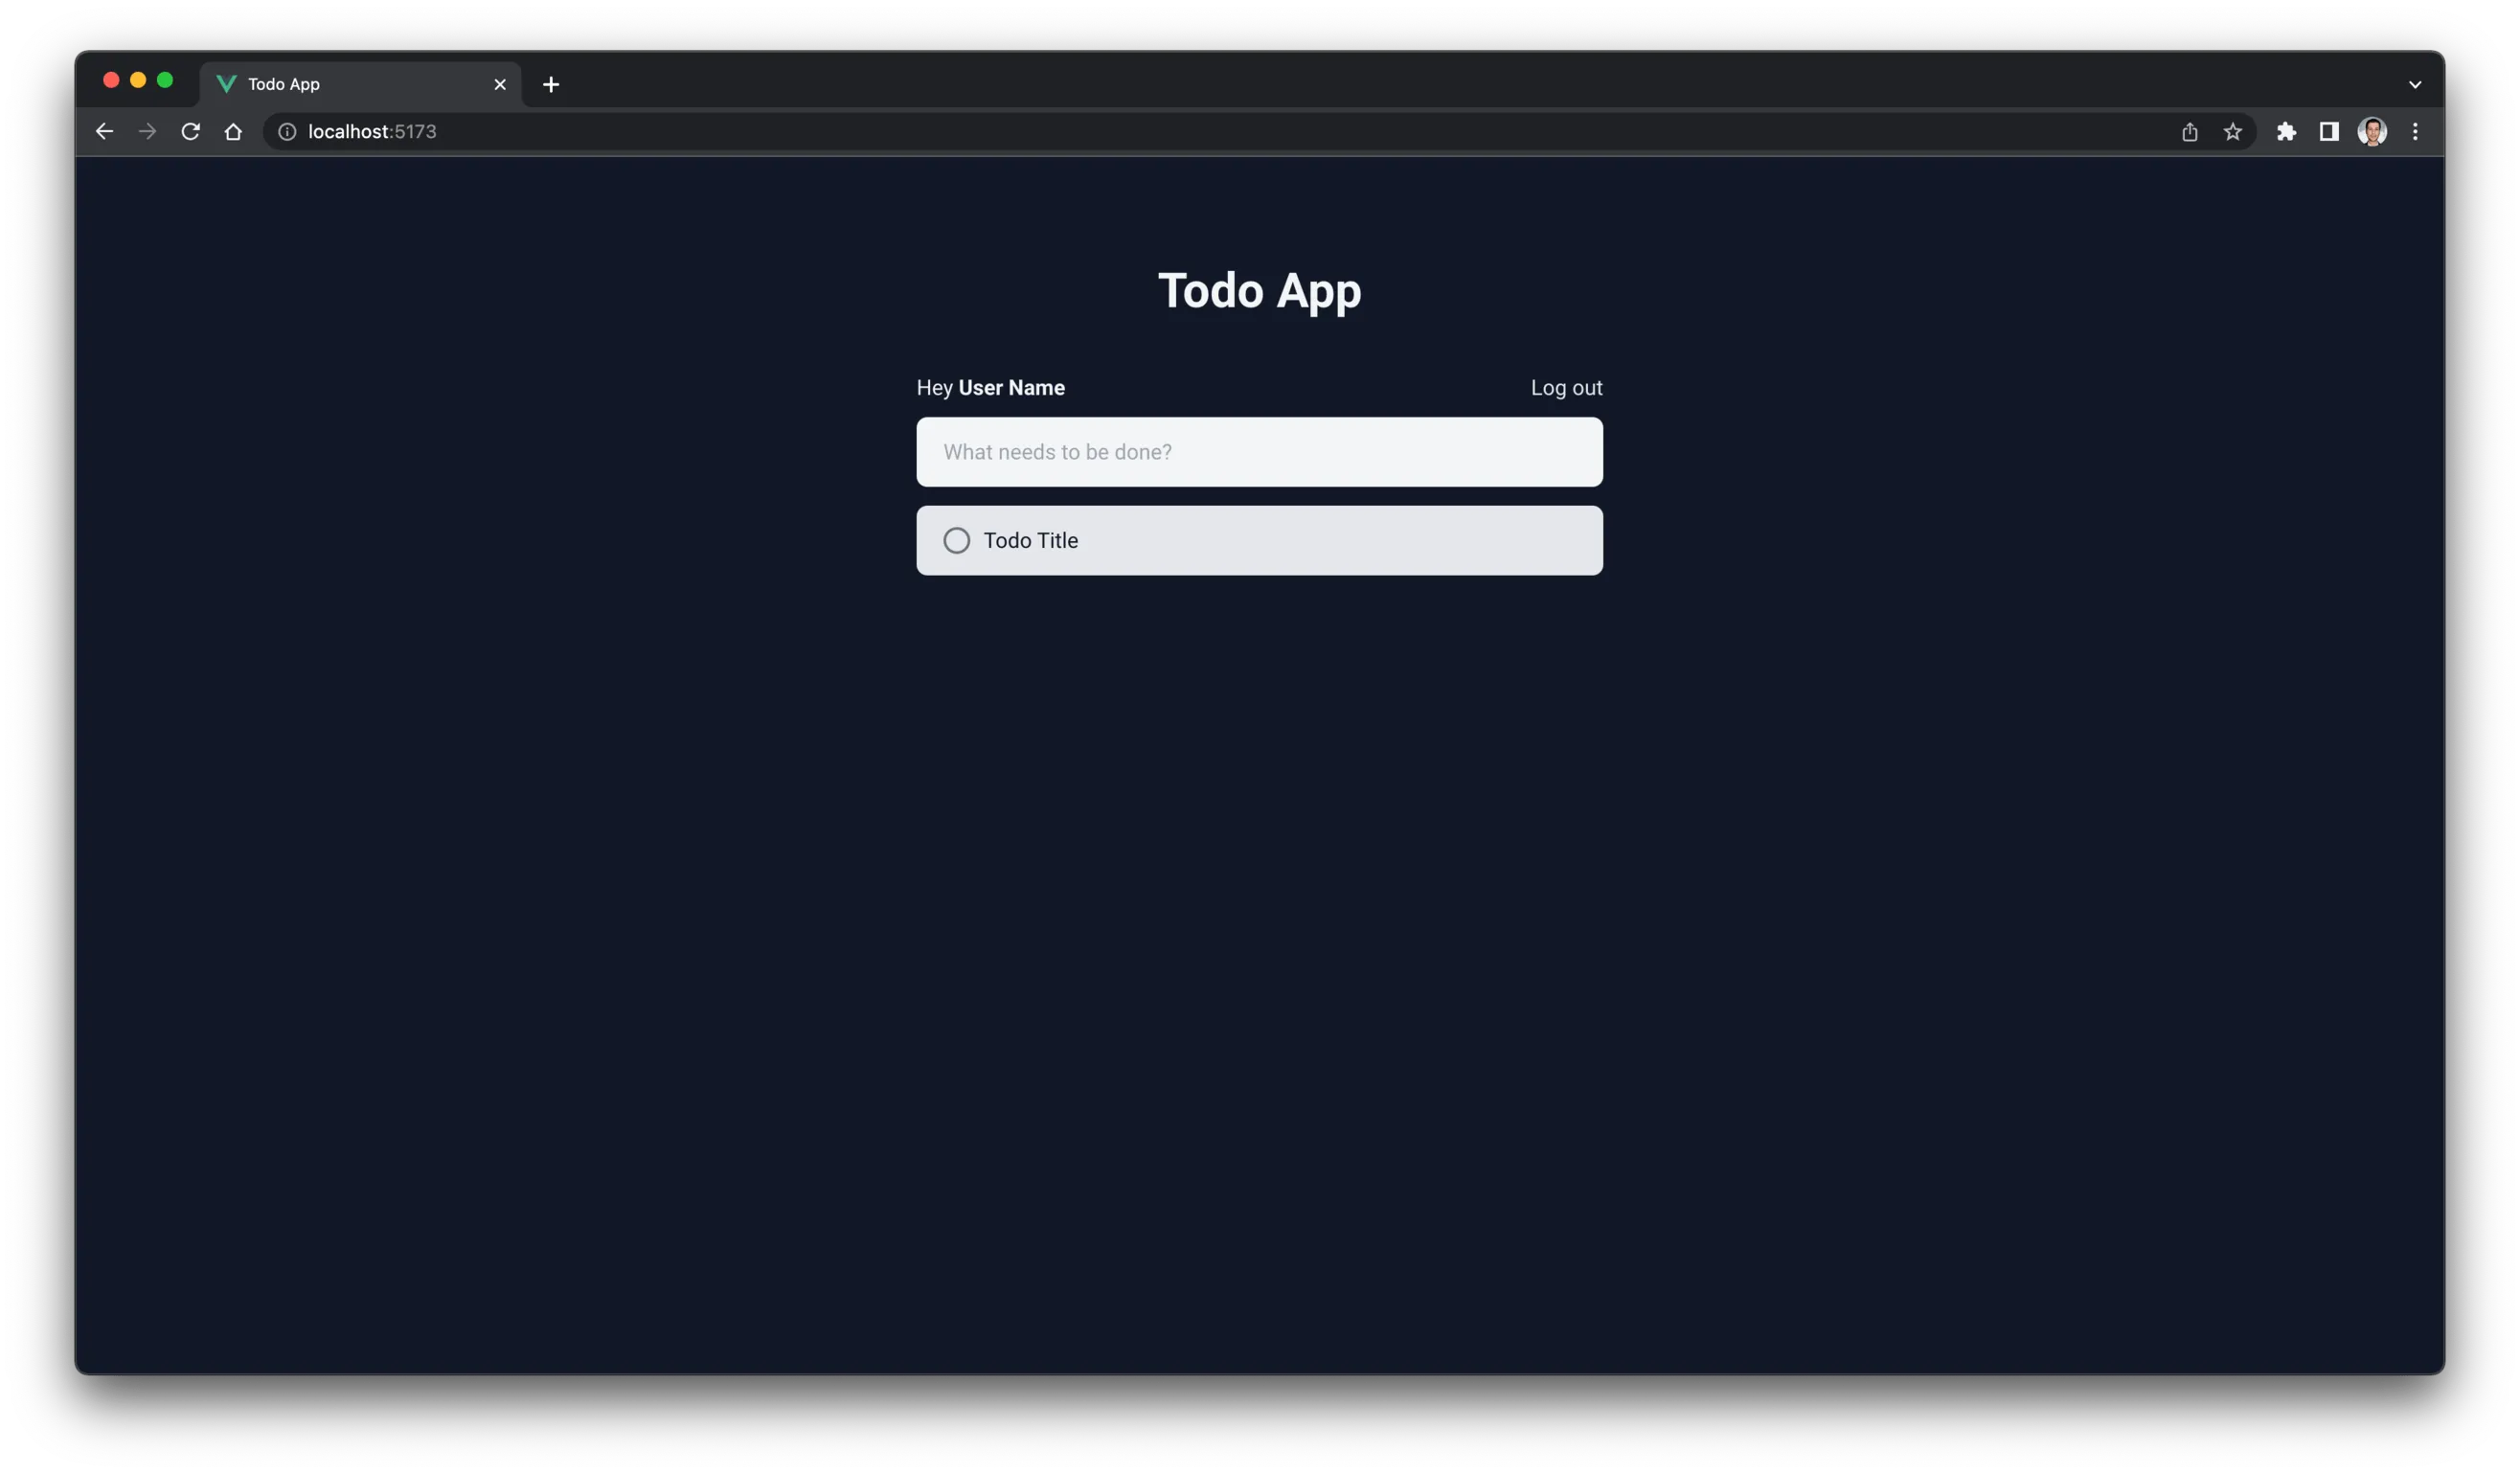
Now you should see this in your browser:
Download and run the backend server
This article focuses only on the frontend of the app, but it wouldn’t be a complete tutorial if we don’t learn how to integrate it to a real backend server. So I created the backend for this app and pushed it to GitHub.
Learning how the backend was created is beyond the scope of this tutorial. So all we need to do here is download it and run it so we start communicating with it.
So from your terminal run:
git clone https://github.com/TahaSh/todoapp-backend
npm install
npm run dev
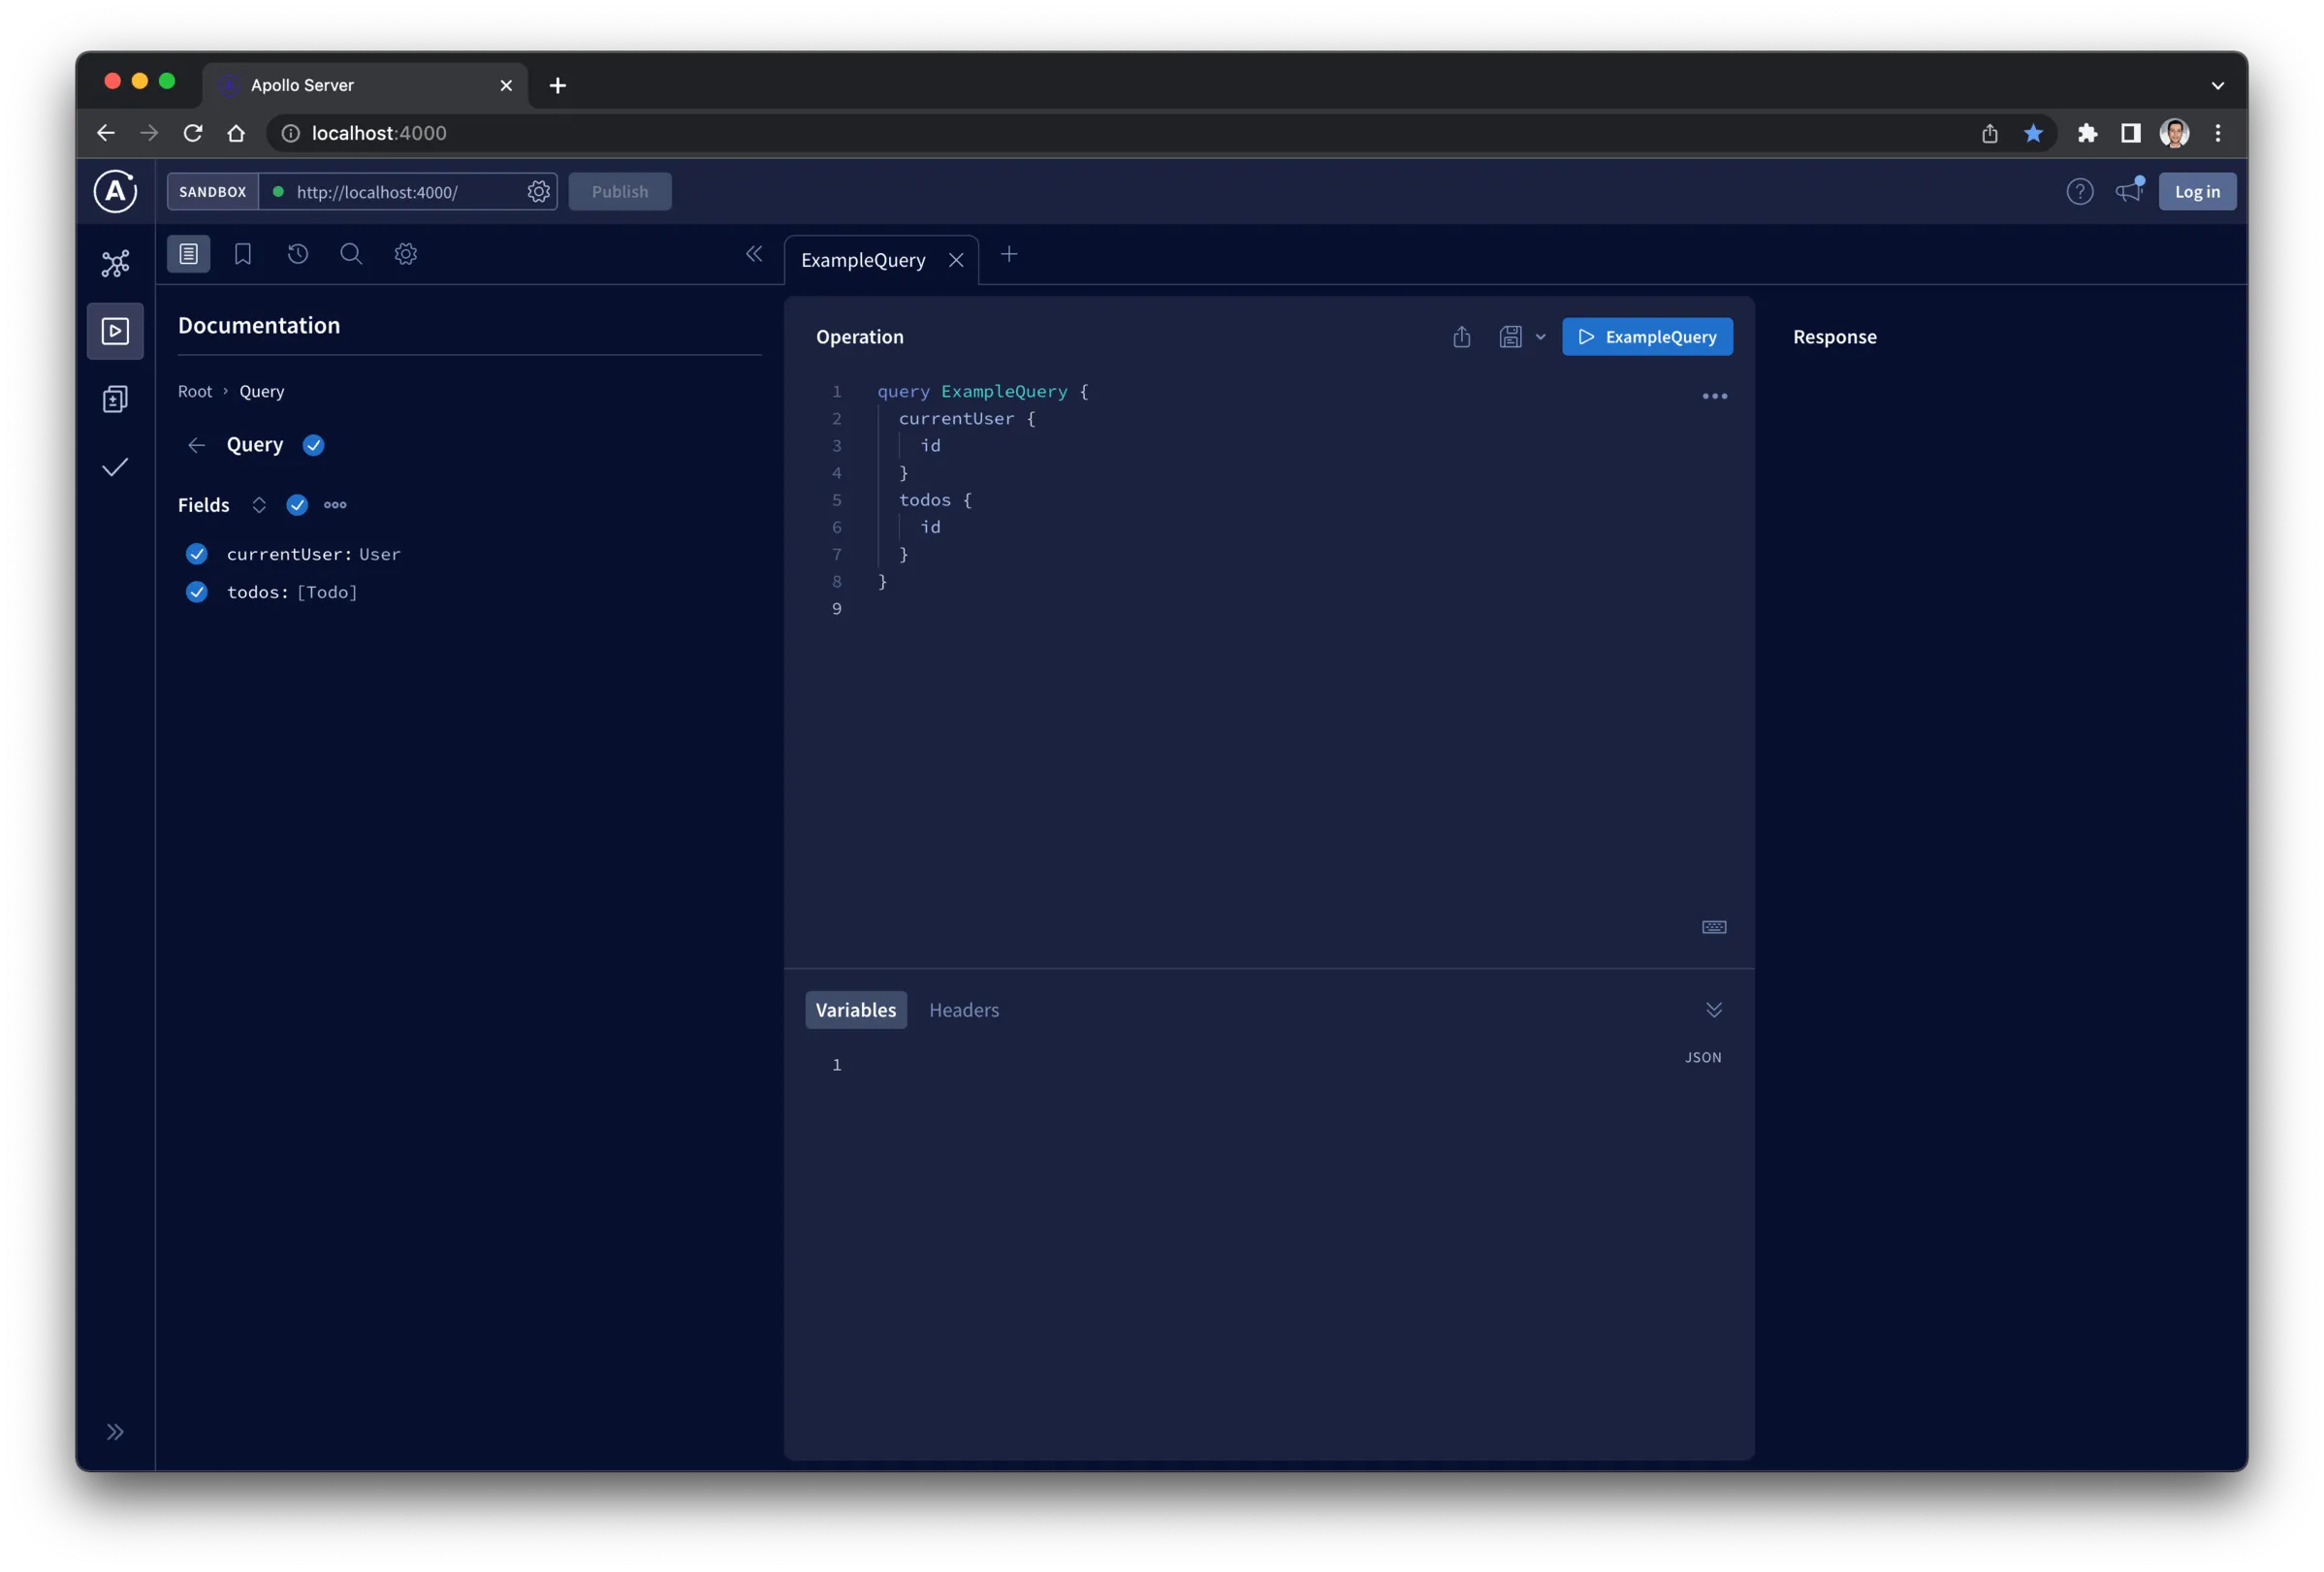
This should run the server on http://localhost:4000. To make sure it’s working, go to that link and see if GraphQL loads successfully.
Install Vue Apollo
Since our backend API is built with GraphQL, we need a GraphQL client to query it. Vue Apollo v4 is a good one, and it supports Vue 3 composition API, which what we are using.
To install it, run this:
npm install --save graphql graphql-tag @apollo/client @vue/apollo-composable
To start using Vue Apollo, we need to create a client instance of it.
Let’s handle this part in a new file in the src/ directory.
Create src/apolloClient.js and put this into it:
import {
  ApolloClient,
  createHttpLink,
  InMemoryCache,
  ApolloLink,
  concat
} from '@apollo/client/core'

export function createApolloClient() {
  const httpLink = createHttpLink({
    uri: 'http://localhost:4000/graphql'
  })

  const authMiddleware = new ApolloLink((operation, forward) => {
    const token = localStorage.getItem('todoapp-token')
    operation.setContext({
      headers: {
        authorization: token ? token : ''
      }
    })
    return forward(operation)
  })

  const cache = new InMemoryCache()

  const apolloClient = new ApolloClient({
    link: concat(authMiddleware, httpLink),
    cache
  })

  return apolloClient
}
Here’s what we need to know in this code:
- When we create the client using
new ApolloClientwe pass to it three things:httpLink,authMiddleware, andcache. - In
httpLinkwe specify the GraphQL server we want to connect to. In this case it’shttp://localhost:4000/graphql. - In
authMiddlewarewe include the JWT token of the current user to the header of every request we send. cachehere is used to cache query results to make subsequent queries faster.
Note how we are storing the token in the localStorage in an item named todoapp-token (you can name it whatever you want). We needed to do this to keep the user logged in even after reloading the page or opening it in another page.
So two things you might need to change in this file: the GraphQL server link (http://localhost:4000/graphql – it’s recommended to put it in an env file), and the localStorage key name (todoapp-token).
We created the function to create the client, but we haven’t used it yet. To do this, update src/main.js to this:
import { createApp, provide, h } from 'vue'
import { createPinia } from 'pinia'
import App from './App.vue'
import router from './router'
import './index.css'

import { createApolloClient } from './apolloClient'
import { DefaultApolloClient } from '@vue/apollo-composable'

const app = createApp({
  setup() {
    provide(DefaultApolloClient, createApolloClient())
  },
  render: () => h(App)
})

app.use(createPinia())
app.use(router)

app.mount('#app')
Integrate the signup page
The first step when you want to integrate some UI is to add the query or the mutation somewhere in your project.
I usually store queries in queries.js and mutations in mutations.js. So let’s create these files in a new folder called src/graphql/.
For the signup page, we need to use the signupUser mutation that our GraphQL server provides. So let’s add this to src/graphql/mutations.js:
import { gql } from 'graphql-tag'

export const SIGNUP_USER = gql`
  mutation signupUser($input: SignupUserInput!) {
    signupUser(input: $input) {
      status
    }
  }
`
Let’s use that mutation in src/views/SignupView.vue (I’ll explain the changes below).
<template>
  <div class="min-h-screen flex flex-col justify-center items-center">
    <h1 class="text-4xl font-bold text-center">Todo App</h1>
    <form
      class="mt-5 w-full max-w-lg mx-auto flex flex-col"
      @submit.prevent="submit"
    >
      <input
        class="p-3.5 rounded-t border-b border-gray-300 text-gray-900 outline-none"
        v-model="name"
        :readonly="loading"
        type="text"
        placeholder="Name"
        required
      />
      <input
        class="p-3.5 border-b border-gray-300 text-gray-900 outline-none"
        v-model="username"
        :readonly="loading"
        type="text"
        placeholder="Username"
        required
      />
      <input
        class="p-3.5 rounded-b text-gray-900 outline-none"
        v-model="password"
        :readonly="loading"
        type="password"
        placeholder="Password"
        required
      />
      <button
        :class="[
          loading
            ? 'bg-gray-500 hover:bg-gray-500'
            : 'bg-blue-500 hover:bg-blue-600',
          'mt-2.5 py-2.5 rounded '
        ]"
        :disabled="loading"
      >
        Sign up
      </button>
    </form>
    <div class="mt-5">
      Already have an account?
      <RouterLink class="text-blue-400" :to="{ name: 'Login' }"
        >Log in here</RouterLink
      >
    </div>
  </div>
</template>

<script setup>
  import { useMutation } from '@vue/apollo-composable'
  import { ref } from 'vue'
  import { SIGNUP_USER } from '../graphql/mutations'
  import { useRouter } from 'vue-router'

  const router = useRouter()

  const { mutate: signup, loading, onDone } = useMutation(SIGNUP_USER)

  const name = ref('')
  const username = ref('')
  const password = ref('')

  const submit = () => {
    signup({
      input: {
        name: name.value,
        username: username.value,
        password: password.value
      }
    })
  }

  onDone(() => {
    router.push({ name: 'Login' })
  })
</script>
To use the inputs in this page (name, username, and password), we added the needed variables and bound them using v-model.
To send a mutation with Vue Apollo, we need to create the mutation using useMutation and pass to it the mutation we want (SIGNUP_USER in this case, which we just added in src/graphql/mutations.js).
useMutation returns a few things that help us use the mutation. You can see the full list in the docs.
For this mutation we’re only using mutate, loading, and onDone:
mutate(variables, overrideOptions)is used to actually send the mutation along with the needed variables and some options. It’s always a good idea to rename it to something specific to your mutation, likesignupfor this example.loadingtells if the mutation is in progress.onDoneis an event hook which is called when the mutation completes successfully.
When the form is submitted, we call the mutation like this:
const submit = () => {
  signup({
    input: {
      name: name.value,
      username: username.value,
      password: password.value
    }
  })
}
After it completes successfully, we redirect to he login page:
onDone(() => {
  router.push({ name: 'Login' })
})
To improve the UX of the app, I’ve used loading to disable the inputs and the button while the mutation is in progress.
// Make the input readonly if loading
<input ... :readonly="loading" ... />

// Disable the button and change its color on loading
<button
  :class="[
    loading
      ? 'bg-gray-500 hover:bg-gray-500'
      : 'bg-blue-500 hover:bg-blue-600',
    'mt-2.5 py-2.5 rounded '
  ]"
  :disabled="loading"
>
  Sign up
</button>
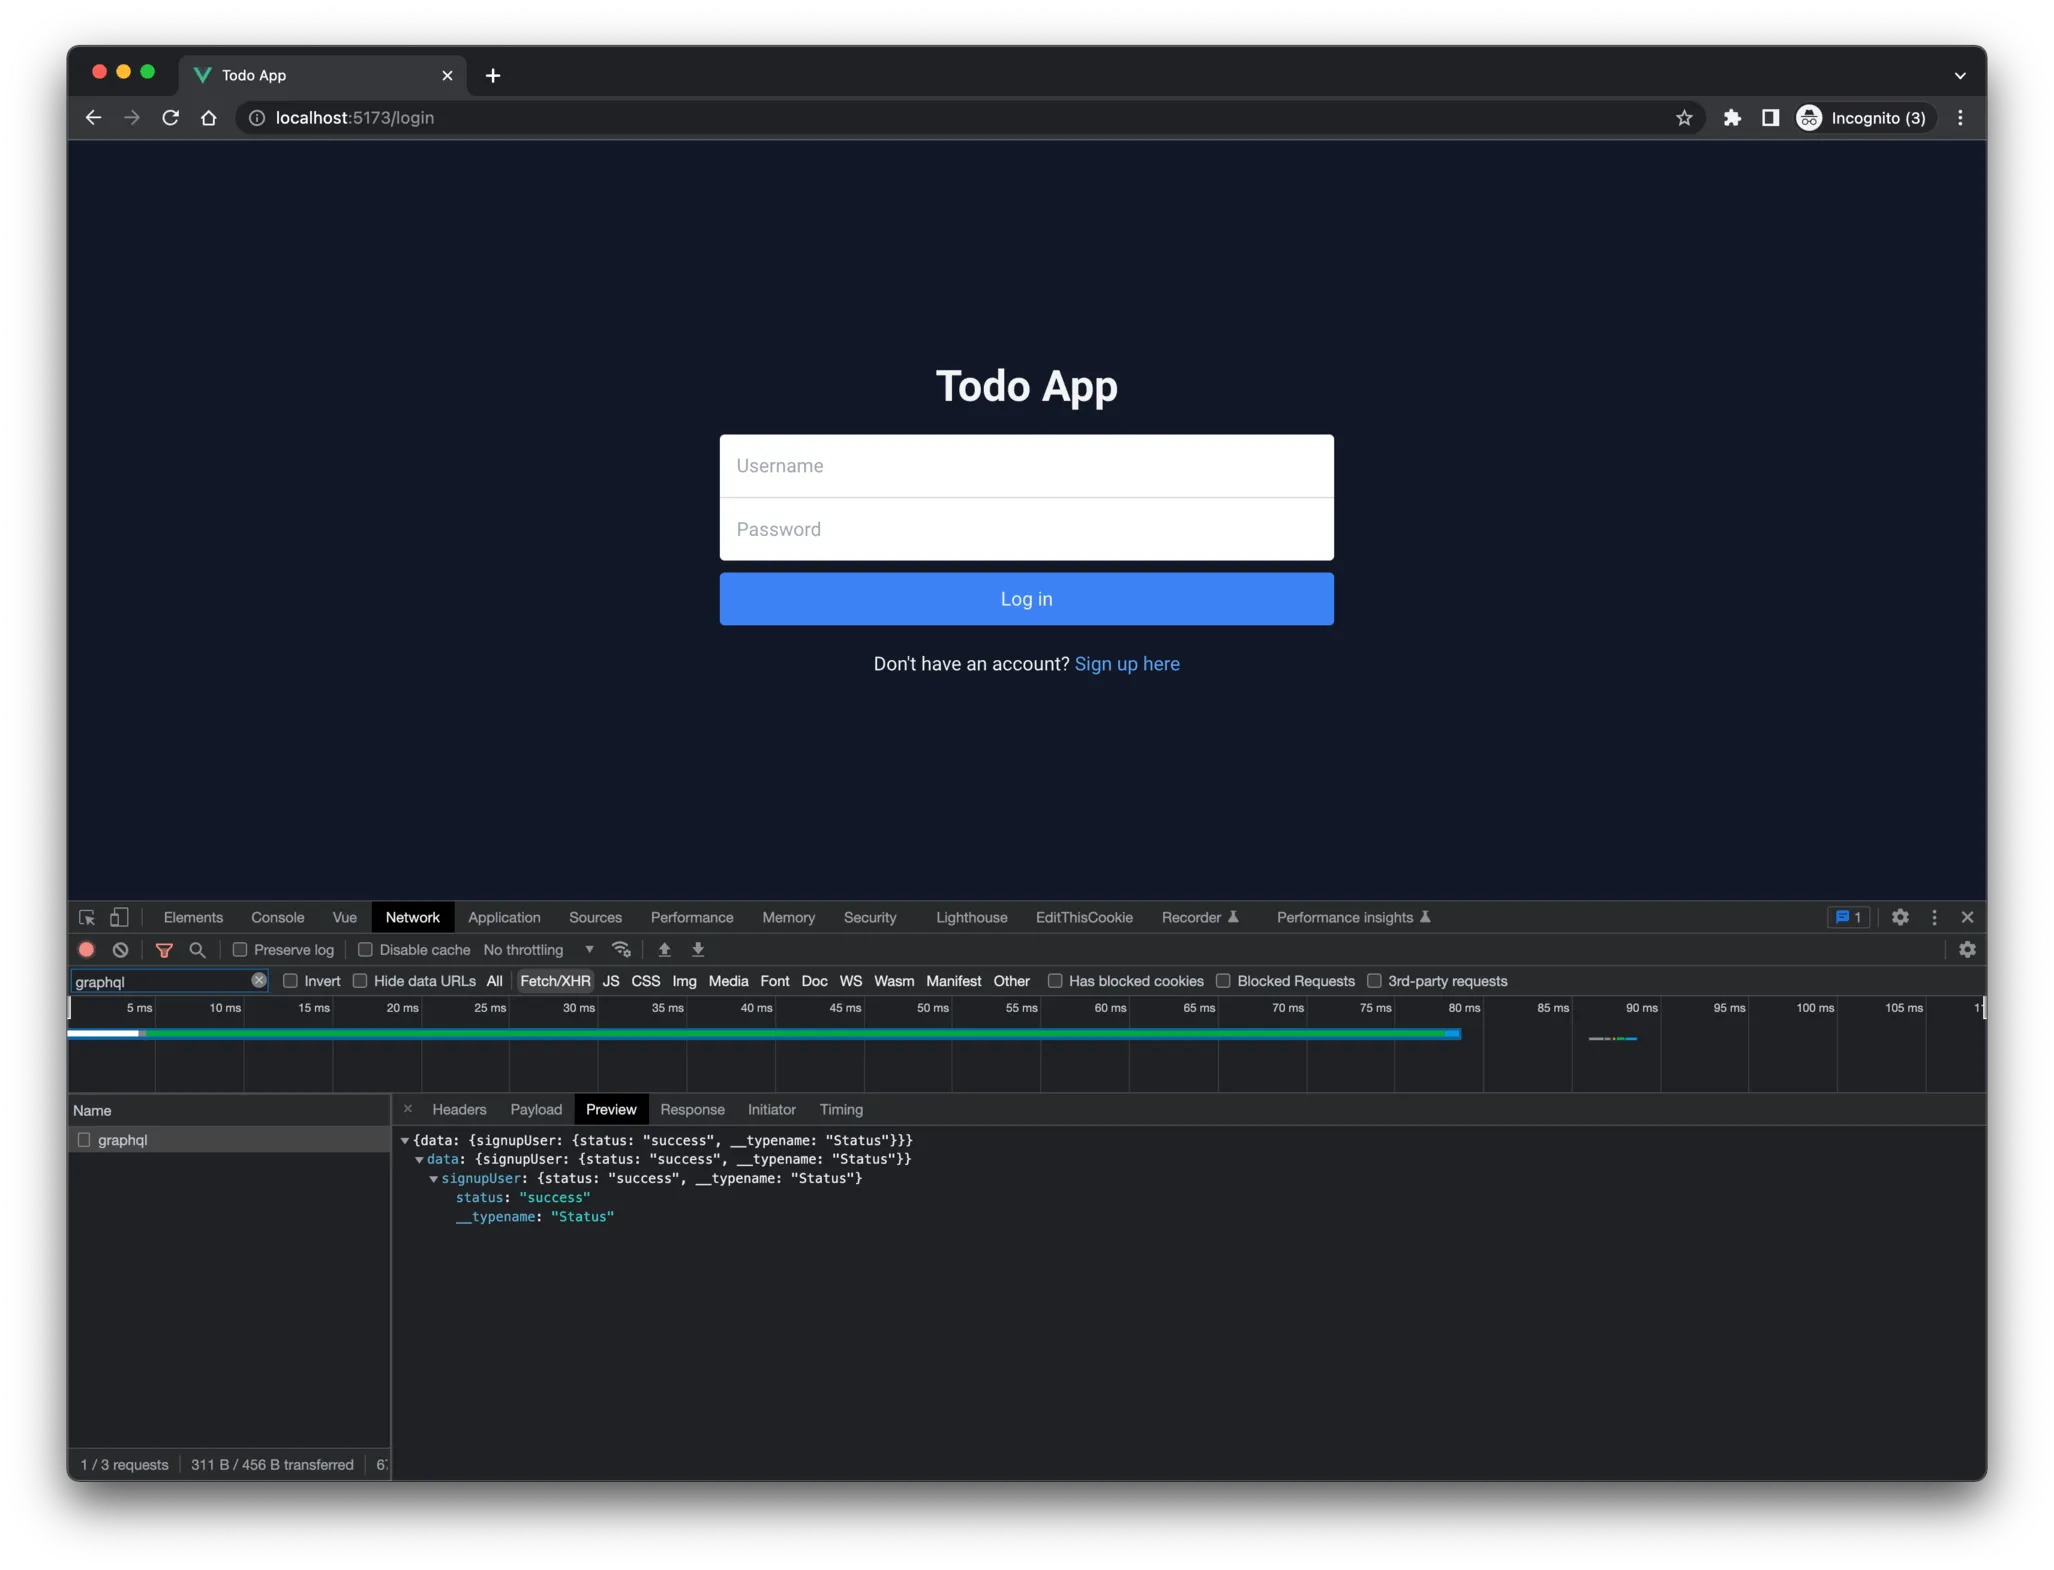
Let’s test the signup page to see if it’s working. After clicking “Sign up” check to see if the mutation is sent successfully like this:
Integrate the login page
Like the signup page, let’s first by adding the mutation to src/graphql/mutations.js:
// ...
export const LOGIN_USER = gql`
  mutation loginUser($username: String!, $password: String!) {
    loginUser(username: $username, password: $password) {
      token
    }
  }
`
Next, copy the following code to src/views/LoginView.vue, which I’ll explain below.
<template>
  <div class="min-h-screen flex flex-col justify-center items-center">
    <div
      v-if="showErrorMessage"
      class="mb-3.5 px-3.5 py-2 rounded-lg bg-red-700 text-red-50 text-sm font-medium"
    >
      Your username or password is incorrect
    </div>
    <h1 class="text-4xl font-bold text-center">Todo App</h1>
    <form
      class="mt-5 w-full max-w-lg mx-auto flex flex-col"
      @submit.prevent="submit"
    >
      <input
        class="p-3.5 rounded-t border-b border-gray-300 text-gray-900 outline-none"
        v-model="username"
        :readonly="loading"
        type="text"
        placeholder="Username"
        required
      />
      <input
        class="p-3.5 rounded-b text-gray-900 outline-none"
        v-model="password"
        :readonly="loading"
        type="password"
        placeholder="Password"
        required
      />
      <button
        :class="[
          loading
            ? 'bg-gray-500 hover:bg-gray-500'
            : 'bg-blue-500 hover:bg-blue-600',
          'mt-2.5 py-2.5 rounded '
        ]"
        :disabled="loading"
      >
        Log in
      </button>
    </form>
    <div class="mt-5">
      Don't have an account?
      <RouterLink class="text-blue-400" :to="{ name: 'Signup' }"
        >Sign up here</RouterLink
      >
    </div>
  </div>
</template>

<script setup>
  import { ref } from 'vue'
  import { useMutation } from '@vue/apollo-composable'
  import { LOGIN_USER } from '../graphql/mutations'
  import { useRouter } from 'vue-router'

  const router = useRouter()

  const { mutate: login, loading, onDone, onError } = useMutation(LOGIN_USER)

  const username = ref('')
  const password = ref('')

  const showErrorMessage = ref(false)

  const submit = async () => {
    login({
      username: username.value,
      password: password.value
    })
  }

  onDone((result) => {
    const token = result.data?.loginUser?.token
    if (!token) {
      showErrorMessage.value = true
      return
    }
    localStorage.setItem('todoapp-token', token)
    router.push({ name: 'home' })
  })

  onError(() => {
    showErrorMessage.value = true
  })
</script>
Most changes are similar to what we did for the signup page. So let me point out the new things here.
When the user logs in successfully, we access the token that the server generated for us through the result parameter in onDone. If, for some reason, the token wasn’t included, we display an error and then return. But if it returned the token successfully, then we store it in the localStorage and redirect to the homepage.
I’m assuming here that the server is returning the same error, if any. That’s why I’m just toggling showErrorMessage to true regardless what error we got. But in real world apps, you need to check what the error is first, then handle it accordingly. For this example, I’m just showing “Your username or password is incorrect” above the form if there’s any error.
<div
  v-if="showErrorMessage"
  class="mb-3.5 px-3.5 py-2 rounded-lg bg-red-700 text-red-50 text-sm font-medium"
>
  Your username or password is incorrect
</div>
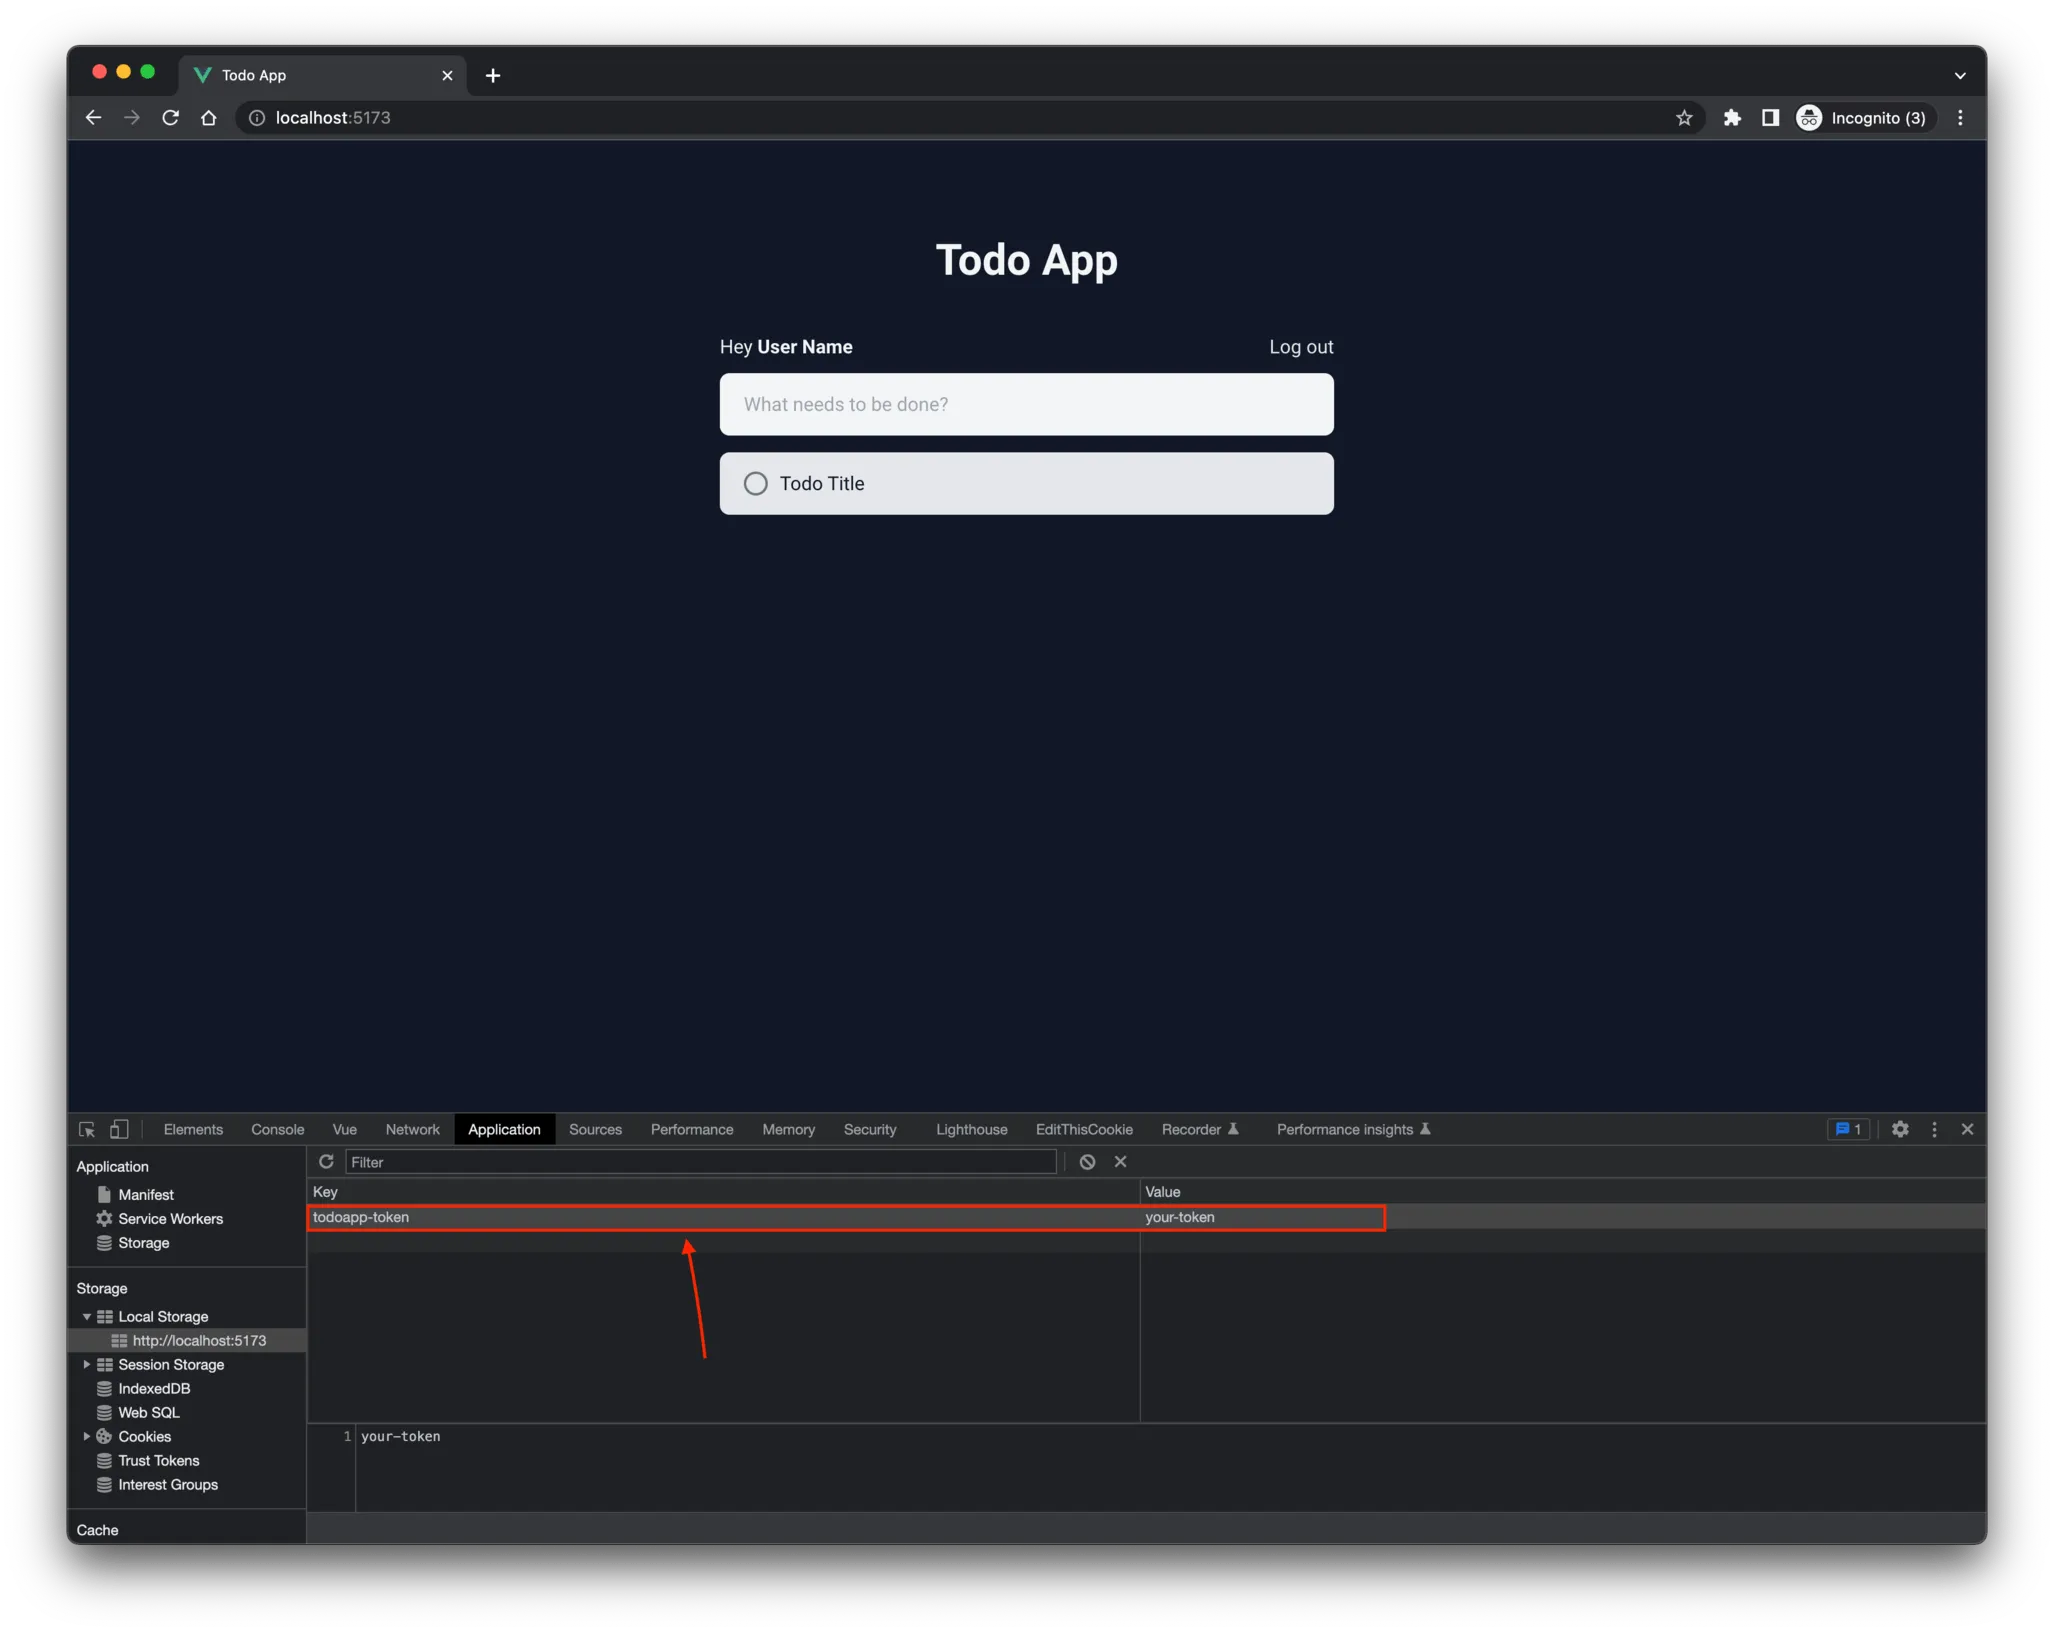
To check if login is working, you should see the token added to your localStorage, like this:
Fetching current user in Pinia
When the user logs in, we just store the token in the browser, but we don’t fetch the user’s data. We need to fetch the user after that to make sure that the token is valid (because the server will not return the user data if the token is invalid). We also need the user data for our app (like displaying the user name, etc).
The GraphQL server for this app gives us the logged-in user data through the currentUser query. So, let’s create it in src/graphql/queries.js:
import { gql } from 'graphql-tag'

export const CURRENT_USER = gql`
  query currentUser {
    currentUser {
      id
      username
      name
    }
  }
`
Since the user data is global to the app, we should store it globally using Pinia.
So, in src/store create a new file named auth.js, then put this into it (I’ll explain below):
import { ref } from 'vue'
import { defineStore } from 'pinia'
import { useLazyQuery } from '@vue/apollo-composable'
import { CURRENT_USER } from '../graphql/queries'

export const useAuth = defineStore('auth', () => {
  const currentUser = ref(null)

  const { onResult, load, networkStatus, refetch, onError } = useLazyQuery(
    CURRENT_USER,
    null,
    {
      fetchPolicy: 'no-cache'
    }
  )

  const getUser = () => {
    return new Promise((resolve) => {
      if (!localStorage.getItem('todoapp-token')) {
        currentUser.value = null
        return resolve(null)
      }
      if (currentUser.value !== null) {
        return resolve(currentUser)
      }
      if (networkStatus.value) {
        refetch()
      } else {
        load()
      }
      onResult((result) => {
        if (result.data?.currentUser) {
          currentUser.value = result.data.currentUser
          resolve(currentUser)
        }
      })
      onError(() => {
        resolve(null)
      })
    })
  }

  return { currentUser, getUser }
})
Stores in Pinia are similar to the setup function in components, but we declare that “setup” function in defineStore().
We need to expose two things from this store: currentUser and getUser.
getUseris a function that fetches the user data (more on that later)currentUserwill contain the user data fetched bygetUser.
Since currentUser is a query, we need to fetch it using useQuery. Actually for this case we will use useLazyQuery which is the same as useQuery except it’s not sent immediately, instead when we call the load() function that it provides.
We don’t want to fetch it immediately because we will call it upon getUser function call.
To avoid bugs in the future, it’s better to not cache the logged-in user data. To do so, we set fetchPolicy: 'no-cache'.
Now let’s see how getUser works here.
Calling getUser would look something like this:
const user = await getUser()
Note how we are using await here. To allow this, we need to return a promise from it — and that’s why getUser returns new Promise.
Before sending the query, we need to check if we even have a token in localStorage. If not, then just resolve with null.
if (!localStorage.getItem('todoapp-token')) {
  currentUser.value = null
  return resolve(null)
}
After that, we check if the user is already fetched. If yes, then just return it.
if (currentUser.value !== null) {
  return resolve(currentUser)
}
If none of this is true, then let’s fetch the user. Normally, we should just call load() and it will start fetching it. But, unfortunately, load can’t be called twice (which we might need if the user logs out and then logs in in the same session). To fix that, we need to call load the first time, then call refetch for the rest. The way we know if it’s the first time or not is by checking networkStatus. If it’s null, then it’s the first time and we call load.
if (networkStatus.value) {
  refetch()
} else {
  load()
}
If the query errored, then we return with null. We do this in onError.
But if it was successful, then store the user data in currentUser and return with that data.
onResult((result) => {
  if (result.data?.currentUser) {
    currentUser.value = result.data.currentUser
    resolve(currentUser)
  }
})
onResult in queries is the same as onDone in mutations, just a different name.
Now we can fetch the user, but where should we fetch it? That’s for the next section.
Handle routing based on authentication
Some pages require the user to be logged in, and other pages require the user to be not logged in (which we call a guest user).
We can associate any data we want to any route through the meta property. So, if we add a flag to each route specifying whether it’s for users or guests, then we know whether a user should be redirected to the login page to log in or not.
Let’s update our src/router/index.js to include this.
import { createRouter, createWebHistory } from 'vue-router'
import HomeView from '../views/HomeView.vue'

const router = createRouter({
  history: createWebHistory(import.meta.env.BASE_URL),
  routes: [
    {
      path: '/',
      name: 'home',
      component: HomeView,
      meta: {
        requiresAuth: true
      }
    },
    {
      path: '/login',
      name: 'Login',
      component: () => import('../views/LoginView.vue'),
      meta: {
        requiresGuest: true
      }
    },
    {
      path: '/signup',
      name: 'Signup',
      component: () => import('../views/SignupView.vue'),
      meta: {
        requiresGuest: true
      }
    }
  ]
})

export default router
Note that these will do nothing for now, they are just flags that we will use next.
The idea here is to check if the user is logged in before each route is shown. And based on route’s meta data and the status of the user (logged in or not), we will redirect to the correct route.
We can do this using router’s beforeEach navigation guard.
Let’s handle this in src/App.vue since it’s the root component.
So update src/App.vue like this:
<template>
  <RouterView />
</template>

<script setup>
  import { useRouter } from 'vue-router'
  import { useAuth } from './stores/auth'

  const { getUser } = useAuth()

  useRouter().beforeEach(async (to, from, next) => {
    try {
      const user = await getUser()
      if (!user && !to.meta?.requiresAuth) {
        return next()
      }
      if (user && to.meta?.requiresGuest) {
        return next({ name: 'home' })
      }
      if (!user && to.meta?.requiresAuth) {
        return next({ name: 'Login' })
      }
      next()
    } catch (err) {
      next({ name: 'Login' })
    }
  })
</script>
So, on each route we do three checks:
if (!user && !to.meta?.requiresAuth)checks if the user is not logged in and the page navigating to does not require auth. In this case the user can continue to that page.if (user && to.meta?.requiresGuest)checks if the user is logged in but trying to go to a guest-only page. In this case just redirect back to the homepage (or you can usenext(from)to redirect back to whatever page they were on).if (!user && to.meta?.requiresAuth)checks if the user is not logged in and going to a page that requires authentication. In this case, we redirect them to the login page.
For all other cases, we should allow navigation. That’s what’s the last next() is for, which comes after if (!user && to.meta?.requiresAuth).
If you now log in to the app and try to go to the login or to the signup page, you should be redirected to the homepage. And the same, if you try to go to the homepage without logging in, you’ll be redirected to the login page.
Display the user name on the homepage
Let’s test our auth store and see if we can display the logged in name at the top where it says “Hey User Name”.
In src/views/HomeView.vue import our auth store like this:
<script setup>
  import AddTodoInput from '../components/AddTodoInput.vue' import TodoItem from
  '../components/TodoItem.vue' import {useAuth} from '../stores/auth' const{' '}
  {currentUser} = useAuth()
</script>
Now just replace User Name with {{ currentUser.name }}:
Hey <span class="font-bold">{{ currentUser.name }}</span>
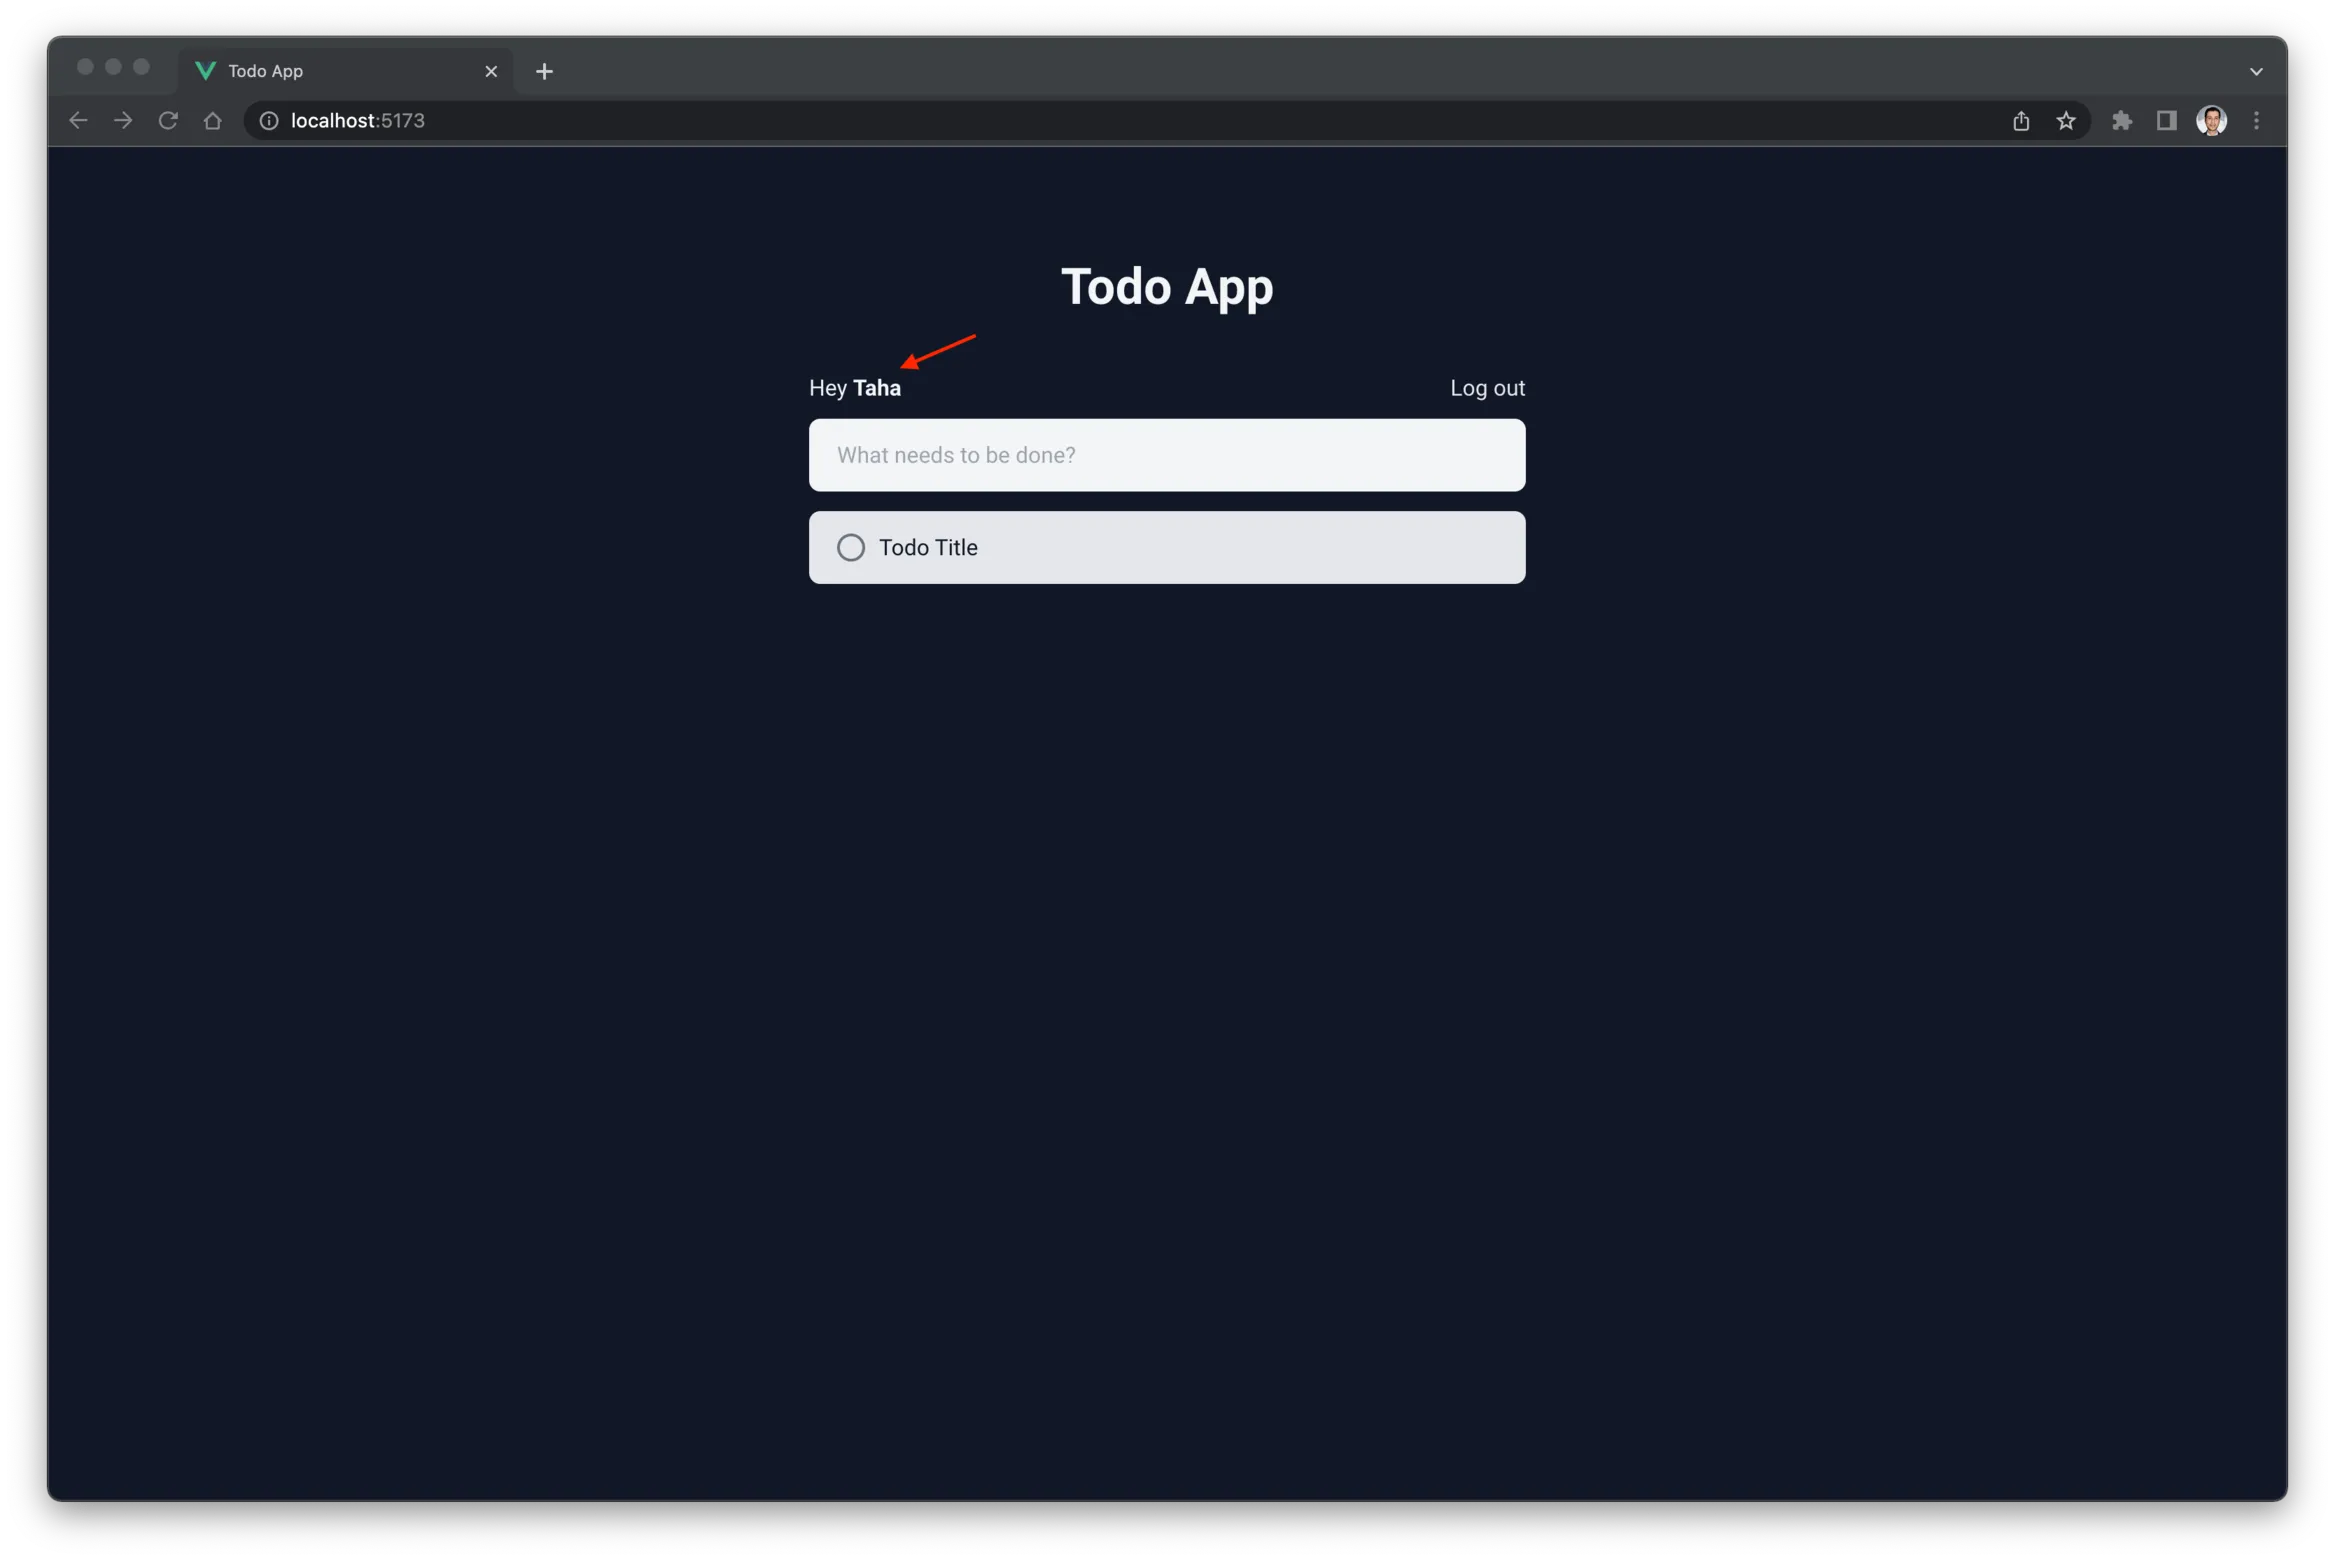
Check the app, and you should see your user’s name.
Implement logout
Until now, if we want to log out, the only way we can do it is by removing todoapp-token from the localStorage manually.
Let’s now implement a proper way to log out. Logout is a feature related to authentication so it makes sense to include it as a function in our auth store.
So in src/store/auth.js add this at the bottom of the function:
const logout = () => {
  localStorage.removeItem('todoapp-token')
  client.cache.reset()
  router.push({ name: 'Login' })
}

return { currentUser, getUser, logout }
When the logout function is called, we do three things. We remove the token from the localStorage, we clear apollo’s cache, and then redirect to the login page.
Note how we are now exposing the logout function.
This will not work yet because router and client are not imported yet.
So, let’s import the router like this:
// ...
import { useRouter } from 'vue-router'
// ...
export const useAuth = defineStore('auth', () => {
  const router = useRouter()
// ...
The client variable here is the current client of apollo we’re using in our app. To import it, add this:
// ...
import { useLazyQuery, useApolloClient } from '@vue/apollo-composable'
// ...
export const useAuth = defineStore('auth', () => {
  const router = useRouter()
  const { client } = useApolloClient()
// ...
After these changes, your src/store/auth.js should look like this:
import { ref } from 'vue'
import { defineStore } from 'pinia'
import { useLazyQuery, useApolloClient } from '@vue/apollo-composable'
import { CURRENT_USER } from '../graphql/queries'
import { useRouter } from 'vue-router'

export const useAuth = defineStore('auth', () => {
  const router = useRouter()
  const { client } = useApolloClient()

  const currentUser = ref(null)

  const { onResult, load, networkStatus, refetch, onError } = useLazyQuery(
    CURRENT_USER,
    null,
    {
      fetchPolicy: 'no-cache'
    }
  )

  const getUser = () => {
    return new Promise((resolve) => {
      if (!localStorage.getItem('todoapp-token')) {
        currentUser.value = null
        return resolve(null)
      }
      if (currentUser.value !== null) {
        return resolve(currentUser)
      }
      if (networkStatus.value) {
        refetch()
      } else {
        load()
      }
      onResult((result) => {
        if (result.data?.currentUser) {
          currentUser.value = result.data.currentUser
          resolve(currentUser)
        }
      })
      onError(() => {
        resolve(null)
      })
    })
  }

  const logout = () => {
    localStorage.removeItem('todoapp-token')
    client.cache.reset()
    router.push({ name: 'Login' })
  }

  return { currentUser, getUser, logout }
})
Now let’s use our logout function in src/views/HomeView.vue:
// ...
<button class="cursor-pointer text-gray-200 hover:text-white" @click="logout">
  Log out
</button>

//...

<script setup>
  import AddTodoInput from '../components/AddTodoInput.vue'
  import TodoItem from '../components/TodoItem.vue'
  import { useAuth } from '../stores/auth'

  const { currentUser, logout } = useAuth()
</script>
All we did here is getting logout function from useAuth() and use it as the click handler for the logout button.
The log out should work as expected now.
Integrate adding todos
Like other mutations, we need to add this mutation to our src/graphql/mutations.js.
// ...
export const ADD_TODO = gql`
  mutation addTodo($input: AddTodoInput!) {
    addTodo(input: $input) {
      id
      title
      completed
    }
  }
`
Now let’s use this mutation in src/components/AddTodoInput.vue:
<template>
  <div
    class="px-5 w-full bg-gray-100 rounded-lg outline-none text-gray-900 flex items-center justify-between"
  >
    <input
      class="rounded-lg py-3.5 flex-1 bg-gray-100 outline-none pr-2.5"
      type="text"
      placeholder="What needs to be done?"
      :readonly="loading"
      v-model="title"
      @keypress.enter="onAdd"
    />
    <Spinner v-if="loading" class="text-blue-900 w-8" />
  </div>
</template>

<script setup>
  import Spinner from './Spinner.vue'
  import { ref } from 'vue'
  import { useMutation } from '@vue/apollo-composable'
  import { ADD_TODO } from '../graphql/mutations'

  const title = ref('')

  const { mutate: addTodo, onError, onDone, loading } = useMutation(ADD_TODO)

  const onAdd = () => {
    addTodo({
      input: {
        title: title.value
      }
    })
  }

  onDone(() => {
    title.value = ''
  })

  onError(() => {
    console.error('An error occurred while adding a todo')
  })
</script>
This should be familiar to you by now. But for this to work we need to add the <Spinner /> component that we are using here.
Add src/components/Spinner.vue:
<template>
  <div class="w-full">
    <!-- By Sam Herbert (@sherb), for everyone. More @ http://goo.gl/7AJzbL -->
    <svg
      viewBox="0 0 38 38"
      xmlns="http://www.w3.org/2000/svg"
      stroke="currentColor"
    >
      <g fill="none" fill-rule="evenodd">
        <g transform="translate(1 1)" stroke-width="2">
          <circle stroke-opacity=".5" cx="18" cy="18" r="18" />
          <path d="M36 18c0-9.94-8.06-18-18-18">
            <animateTransform
              attributeName="transform"
              type="rotate"
              from="0 18 18"
              to="360 18 18"
              dur="1s"
              repeatCount="indefinite"
            />
          </path>
        </g>
      </g>
    </svg>
  </div>
</template>
It’s just a simple SVG spinner that we show while the todo is being created.
Right now we don’t display the todos, but you can test if this is working by checking the network tab in your browser to see if the mutation was sent successfully.
Fetch and display todos
Let’s first add the query for fetching todos to src/graphql/queries.js:
// ...
export const TODOS = gql`
  query todos {
    todos {
      id
      title
      completed
    }
  }
`
We will fetch these todos in src/views/HomeView.vue, so update it like this:
<template>
  <div class="mt-20 w-full max-w-lg mx-auto">
    <h1 class="text-4xl font-bold text-center">Todo App</h1>
    <div class="mt-10 flex items-center justify-between">
      <div>Hey <span class="font-bold">{{ currentUser.name }}</span></div>
      <button
        class="cursor-pointer text-gray-200 hover:text-white"
        @click="logout"
      >
        Log out
      </button>
    </div>
    <div class="mt-2.5">
      <AddTodoInput />
      <div class="mt-3.5">
        <div
          v-if="loading"
          class="mt-10 flex items-center justify-center text-xl font-medium"
        >
          <Spinner class="w-5 mr-2.5" />
          Loading Todos
        </div>
        <div v-else-if="result.todos.length > 0" class="space-y-2.5">
          <TodoItem v-for="todo in result.todos" :key="todo.id" :todo="todo" />
        </div>
        <div v-else class="mt-10 text-center text-blue-50 text-opacity-40">
          Your Todo List is Empty
        </div>
      </div>
    </div>
  </div>
</template>

<script setup>
  import Spinner from '../components/Spinner.vue'
  import AddTodoInput from '../components/AddTodoInput.vue'
  import TodoItem from '../components/TodoItem.vue'
  import { useAuth } from '../stores/auth'
  import { useQuery } from '@vue/apollo-composable'
  import { TODOS } from '../graphql/queries'

  const { currentUser, logout } = useAuth()

  const { loading, result } = useQuery(TODOS)
</script>
We are sending a simple query that returns todos in result.todos.
The main thing to pay attention to here is how we are:
- displaying the spinner when the query is loading
- displaying the todos if the list is not empty (
result.todos.length > 0) - displaying the empty state if the list is empty
Here’s where we are handling this:
<div class="mt-3.5">
  <div
    v-if="loading"
    class="mt-10 flex items-center justify-center text-xl font-medium"
  >
    <Spinner class="w-5 mr-2.5" />
    Loading Todos
  </div>
  <div v-else-if="result.todos.length > 0" class="space-y-2.5">
    <TodoItem v-for="todo in result.todos" :key="todo.id" :todo="todo" />
  </div>
  <div v-else class="mt-10 text-center text-blue-50 text-opacity-40">
    Your Todo List is Empty
  </div>
</div>
Also, note how we are passing each todo data to <TodoItem /> as a prop.
So, the next step is to modify src/components/TodoItem.vue to use that prop.
<template>
  <div
    class="group flex items-center justify-between bg-gray-200 rounded-lg px-5 py-3.5 text-gray-900"
  >
    <div class="flex items-center">
      <button
        :class="[
          todo.completed ? 'bg-blue-500 border-blue-500' : 'border-gray-500',
          'hover:border-blue-500 border-2 w-5 h-5 rounded-full flex items-center justify-center text-white cursor-pointer'
        ]"
        @click="toggle"
      >
        <svg
          v-if="todo.completed"
          style="width: 15px; height: 15px"
          viewBox="0 0 24 24"
        >
          <path
            fill="currentColor"
            d="M21,7L9,19L3.5,13.5L4.91,12.09L9,16.17L19.59,5.59L21,7Z"
          />
        </svg>
      </button>
      <span :class="[todo.completed && 'line-through text-gray-500', 'ml-2.5']">
        {{ todo.title }}
      </span>
    </div>

    <button
      class="opacity-0 group-hover:opacity-100 text-gray-500 hover:text-gray-900"
    >
      <svg style="width: 24px; height: 24px" viewBox="0 0 24 24">
        <path
          fill="currentColor"
          d="M9,3V4H4V6H5V19A2,2 0 0,0 7,21H17A2,2 0 0,0 19,19V6H20V4H15V3H9M9,8H11V17H9V8M13,8H15V17H13V8Z"
        />
      </svg>
    </button>
  </div>
</template>

<script setup>
  defineProps({
    todo: Object
  })
</script>
So we replaced our local completed data here with todo.completed. We also displayed the todo title using {{ todo.title }}.
Refetch todos on add
Each time we add a new todo, we need to reload the page to see them added to the list. To fix this, we need to refetch todos every time we add a new one.
With Vue Apollo we can easily do this using the refetchQueries option in mutations.
Here’s how to add it to src/components/AddTodoInput.vue:
// ...
import { TODOS } from '../graphql/queries'

// ...

const {
  mutate: addTodo,
  onError,
  onDone,
  loading
} = useMutation(ADD_TODO, {
  refetchQueries: [{ query: TODOS }]
})

// ...
With that change, you should see new todos displayed in the list after they are added on the backend.
Mark todos as complete
We will use updateTodo mutation for this. So let’s add it to src/graphql/mutations.js:
export const UPDATE_TODO = gql`
  mutation updateTodo($input: UpdateTodoInput) {
    updateTodo(input: $input) {
      status
    }
  }
`
Update src/components/TodoItem.vue to use this mutation, like this:
<script setup>
import { useMutation } from '@vue/apollo-composable'
import { TODOS } from '../graphql/queries'
import { UPDATE_TODO } from '../graphql/mutations'

const props = defineProps({
  todo: Object
})

const { mutate: updateTodo, onError: onUpdateError } = useMutation(
  UPDATE_TODO,
  {
    refetchQueries: [{ query: TODOS }]
  }
)

const toggle = () => {
  updateTodo({
    input: {
      todoId: props.todo.id,
      completed: !props.todo.completed
    }
  })
}

onUpdateError(() => {
  console.error('An error occurred while updating todos')
})
</script>
If toggling todos work, move on to the last step.
Delete todos
Deleting todos follow the exact same workflow as the previous one.
So first add the mutation:
export const DELETE_TODO = gql`
  mutation deleteTodo($todoId: ID) {
    deleteTodo(todoId: $todoId) {
      status
    }
  }
`
And update src/components/TodoItem.vue to use it.
import { UPDATE_TODO, DELETE_TODO } from '../graphql/mutations'

// ...

const { mutate: deleteTodo, onError: onDeleteError } = useMutation(
  DELETE_TODO,
  {
    refetchQueries: [{ query: TODOS }]
  }
)

const onDeleteClick = async () => {
  deleteTodo({
    todoId: props.todo.id
  })
}

onDeleteError(() => {
  console.error('An error occurred while deleting todo')
})
🎉 You did it!
So now users can create accounts, log in, log out, add todos, complete them, or delete them.
So officially, you’ve created your first single-page application in Vue.
A UX challenge
Because our backend is running locally, the app feels so fast that we don’t see the loading indicator.
However, if you run it on a real server and your internet is slow, you’ll see some UX issues like a delay between clicking the todo checkbox and seeing it completed.
We can fix it by following a pattern called Optimistic UI, which means updating the UI even before we receive the response from the server.
So set your network throttling to “Slow 3G” and see how you can fix it.
After that, compare your solution with mine on GitHub.
